Webmethod.io: Implementation. Part 2.
We finally get into workflow building, with all custom components and connections required for a secure Ghost Blog. Today, we will complete the overall design and error-handling process.

We finally get into workflow building, with all custom components and connections required for a secure Ghost Blog. Today, we will complete the overall design and error-handling process.
If you have followed my progress by now, you should have a workflow resembling the one in the main picture. Find and drop on the canvas the following connectors:
- ChatGPT. I use it to announce generation. If you don't want to use OpenAI services, replace it with the Switch connector.
- XAppConnector. We discussed the X APIv2 integration in detail earlier.
- Linkedin. To publish announcements on my activity stream.
If you drop them close to this order, Webmethods.io will try auto-connect components. It didn't do well for me, but you can drop and recreate connections at any time. The short video below demonstrates the desired layout and connection between components.
Completing the integration Flow
Now, the GhostEventValidator has two outbound connections—one conditional from the last session and a newly added unconditional one. Let's fix that because we want to post announcements only if the initial event comes from a valid source.
- Click on the connector between GhostEvenValidator and ChatGPT, then click on the ⛭ icon in the pop-up.
- Click "Add Condition," and inside the new condition, click "Add Filter" on the right side to validate workflow data after GhostEventValidatior execution.
- For the Condition field, select "(Boolean) is Value True" from the drop-down list.
- Expand the GhostEventValidator instance on the left side, then drag the boolean attribute "Status" to the filed Input on the right.
Both validator connectors are conditional and will be used only when a defined condition is true.
The next activity in the chain is the ChatGPT connector. Let's hover over it and click the ⛭ icon to complete the configuration.
- Select "Create Completions" from the drop-down list of actions since we want to generate a new text.
- Click on the + next to the field "connect to the ChatGPT" to create a new connection. If you already have one, select it from the dropdown.
- Click the "Next" button when your new account is confirmed.
- Configure the connector with the desired parameters to receive generated announcements that fit your style and purpose.

- Click "Next" to advance to the connector test screen. Examine the ChatGPT input parameters and click "Test." If all parameters are correct you would have two different replies generated by the large language model.
- Click "Done" to complete the configuration.
To save space, I moved the ChatGPT connector configuration into the separate post Webmethods.io and OpenAI integration.
- Hover the mouse pinter over the LinkedIn, then click on the ⛭ icon in the pop-up.
- Select "Share on LinkedIn" as an action.
- If you have not done it before - click on the + next to the "Authorize LinkedIn" field.
- Complete OAuth 2.0 authorization steps and click "Next" to get to the data mapping screen.
- Expand "Transform" section on the left pane and click "Add New" button.
- Give the new transformation a name, ie "CutSpaces" and select "Trim" action under "Strings" section from the long list of transformers.
- Expand ChatGPT Completion output and locate data/choices[0]/text in the data structure. Make a note, that "choices" is array and you should specify an index in the drop down next to it. I reserve 0 for LinkedIn and 1 for X.
- With index set, drag the text filed from the left to the Trim String input on the right.
- Double check the result and save the transformer with "Done" button

- Now we have an output from ChatGPT with removed extra spaces.
- Complete the connector mapping:
- Drag "CutSpaces" value to the "Comment" section;
- Use the "url" and "title" values from the event;
- Set the "Visibility" to "PUBLIC" to make your anouncement visible to everyone.

- Click "Next" to the Connector configuration test.
- Review the JSON document in the Input tab, and click "Text" button to double check your configuration. If test is successful, you will see the reply form the social network.
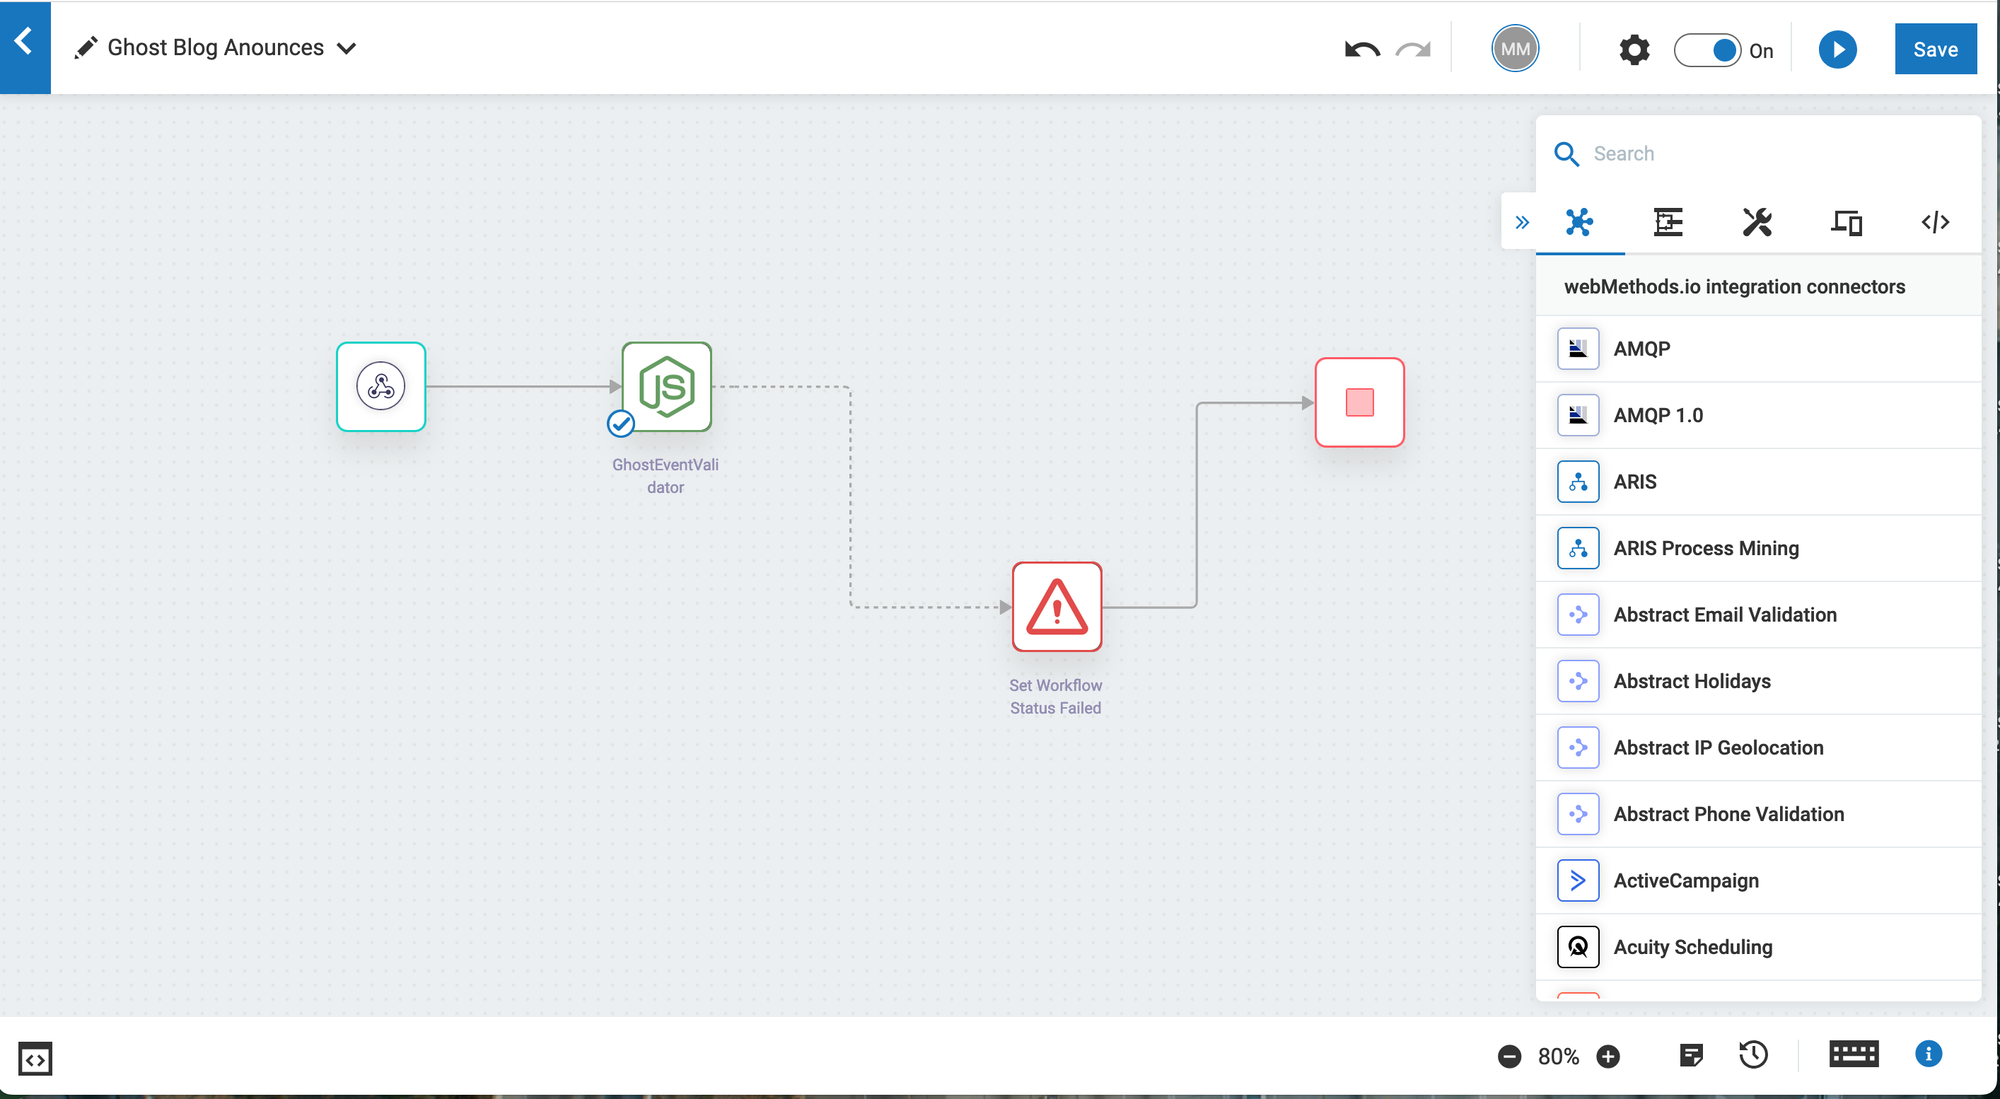
To complete the workflow design lets add a special subprocess - Global Error Handler. We need it to intercept and handle errors, from connectors or from executions. This step is optional, but it's a good practise to handle and log all errors that may occur.
- Locate Global Error handler action in the palette and drag it to the workflow canvas. You will see the new canvas with exception and end events.
- Find the "Logger" action and drag it into the Global Error Handler box, closer to the exception.
- Add the action "Set Workflow Status Failed" right after "Logger".
- Grab the connector circle on the last connector and drag it towards the end event.
- Hover over the Logger action and click on the ⛭ icon to configure Logger.
- Click on + icon to add more "Log Data" entries and map all Global Error Handler data.

- Click the "Next" and then "Done" buttons to complete the mapping.
- Take a look at you workflow and save it with the "Save" button in the upper right corner.

Configuration for the X application and LinkedIn are quite similar, so I walk you through the LinkedIn connector config and left you the X connector configuration as a homework.
In case you missed previous publications:

