Ghost: Create an Instance Group
Since the beginning of the quest, we have had cloud-based site backups, Google Cloud architecture for a low-maintenance and inexpensive test site, plus a working instance template. Now let's ensure instance availability and security.


Since the beginning of the quest, we have had cloud-based site backups, Google Cloud architecture for a low-maintenance and inexpensive test site, plus a working instance template. Now let's ensure instance availability and security.
Instance Group
In this low-cost design, the primary goal of the instance group is spot instance recovery. If Google Cloud decides that my current instance should be revoked, it will send a termination signal and kills the VM. The instance group will immediately request and configure a new one. The latest template will restore a backup and configure a new swarm.
Since low maintenance and cost savings are priorities, I created a single zone-managed (stateless) instance group with autoscaling. Although we will autoscale only to one instance, it still should be configured with max and minimum replicas set to one.
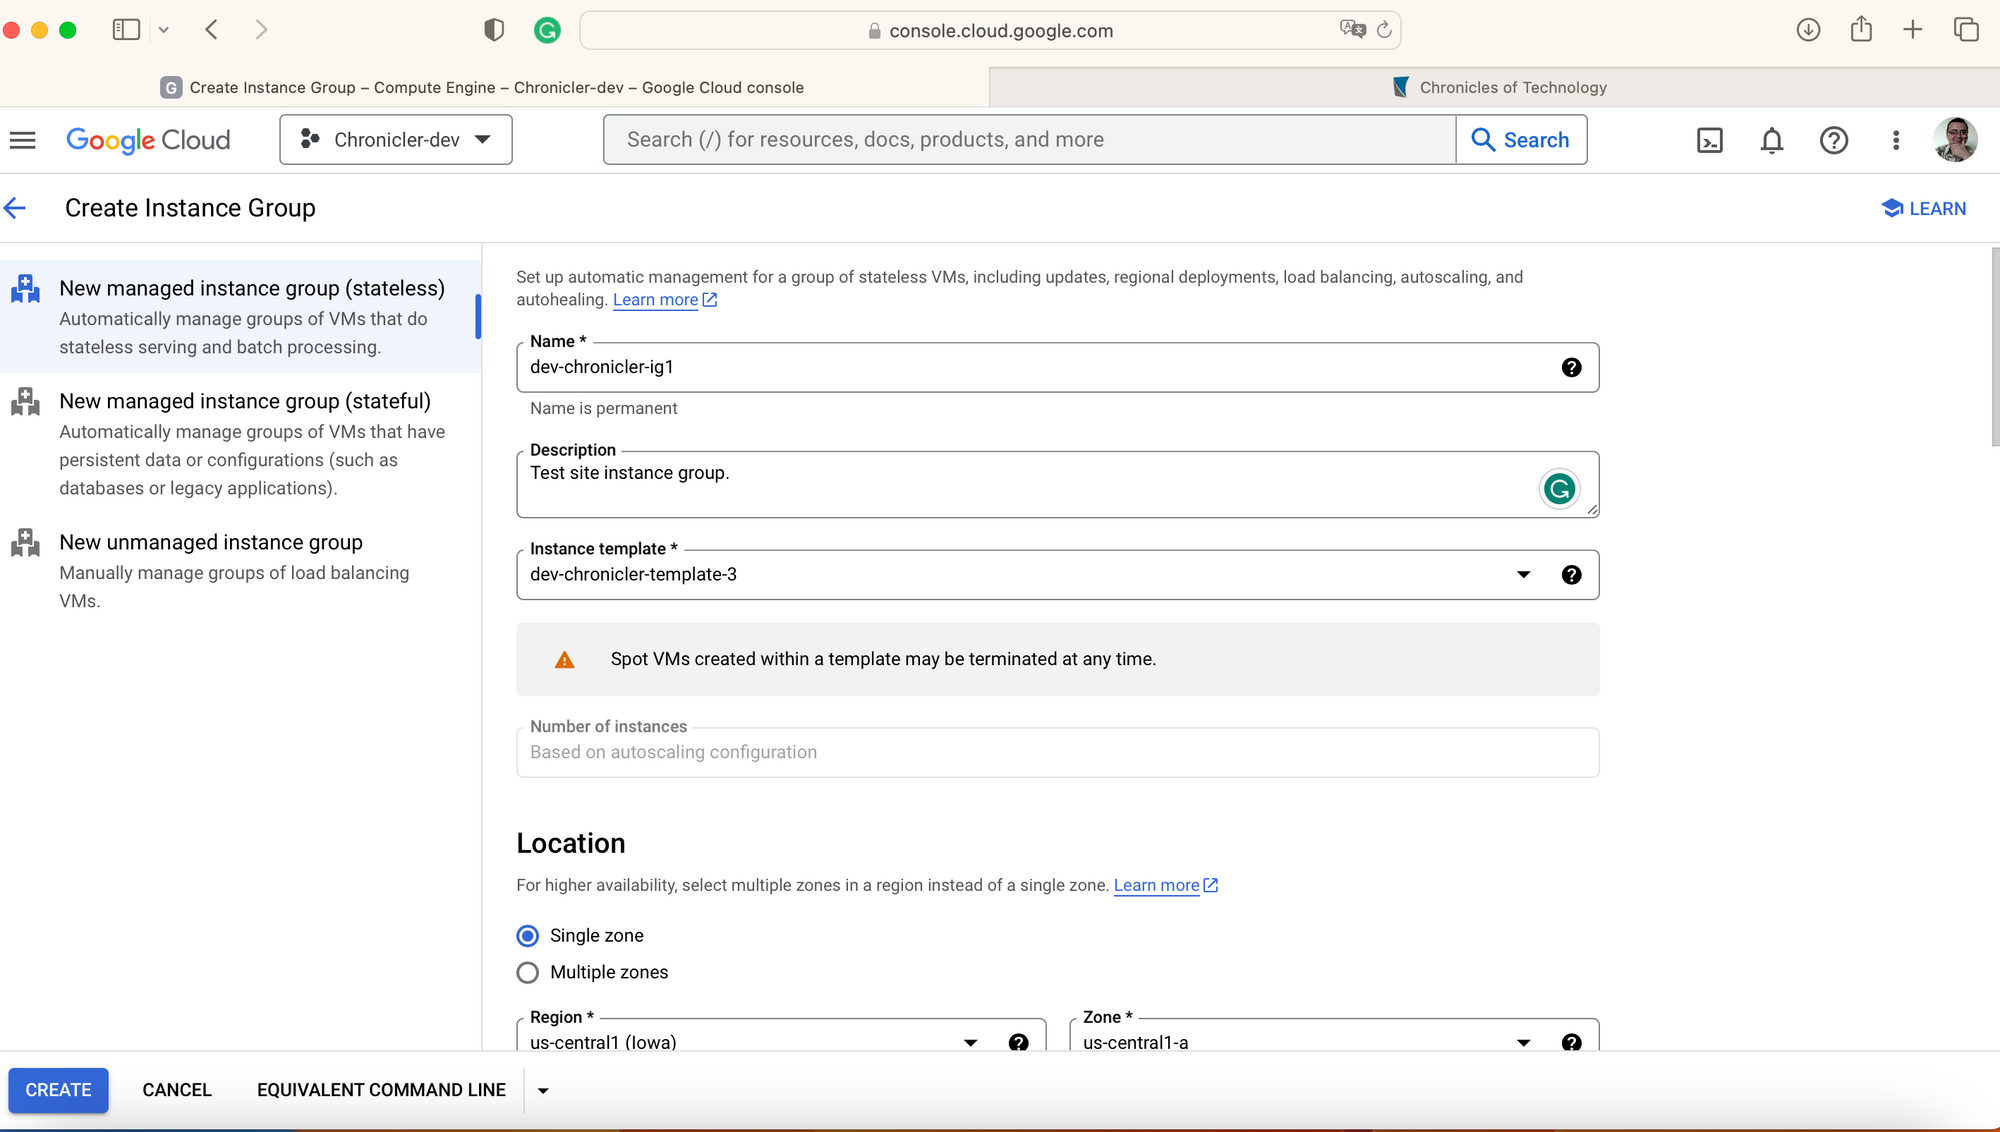
Google Console shows you a single form for the instance group configuration, but it takes two separate gcloud commands.
#Create instance group
gcloud beta compute instance-groups managed create dev-chronicler-ig1 --project=chronicler-dev-XXXX --base-instance-name=dev-chronicler-ig1 --size=0 --description=Test\ site\ instance\ group. --template=dev-chronicler-template --zone=us-central1-a --list-managed-instances-results=PAGELESS --no-force-update-on-repair

# Configure group autoscale
gcloud beta compute instance-groups managed set-autoscaling dev-chronicler-ig1 --project=chronicler-dev-XXXX --zone=us-central1-a --cool-down-period=60 --max-num-replicas=1 --min-num-replicas=1 --mode=on --target-cpu-utilization=0.6When you create the new instance group, it will start scaling the group, and VM instances will show you a new VM with the instance group as "In use by instnace-group-name."
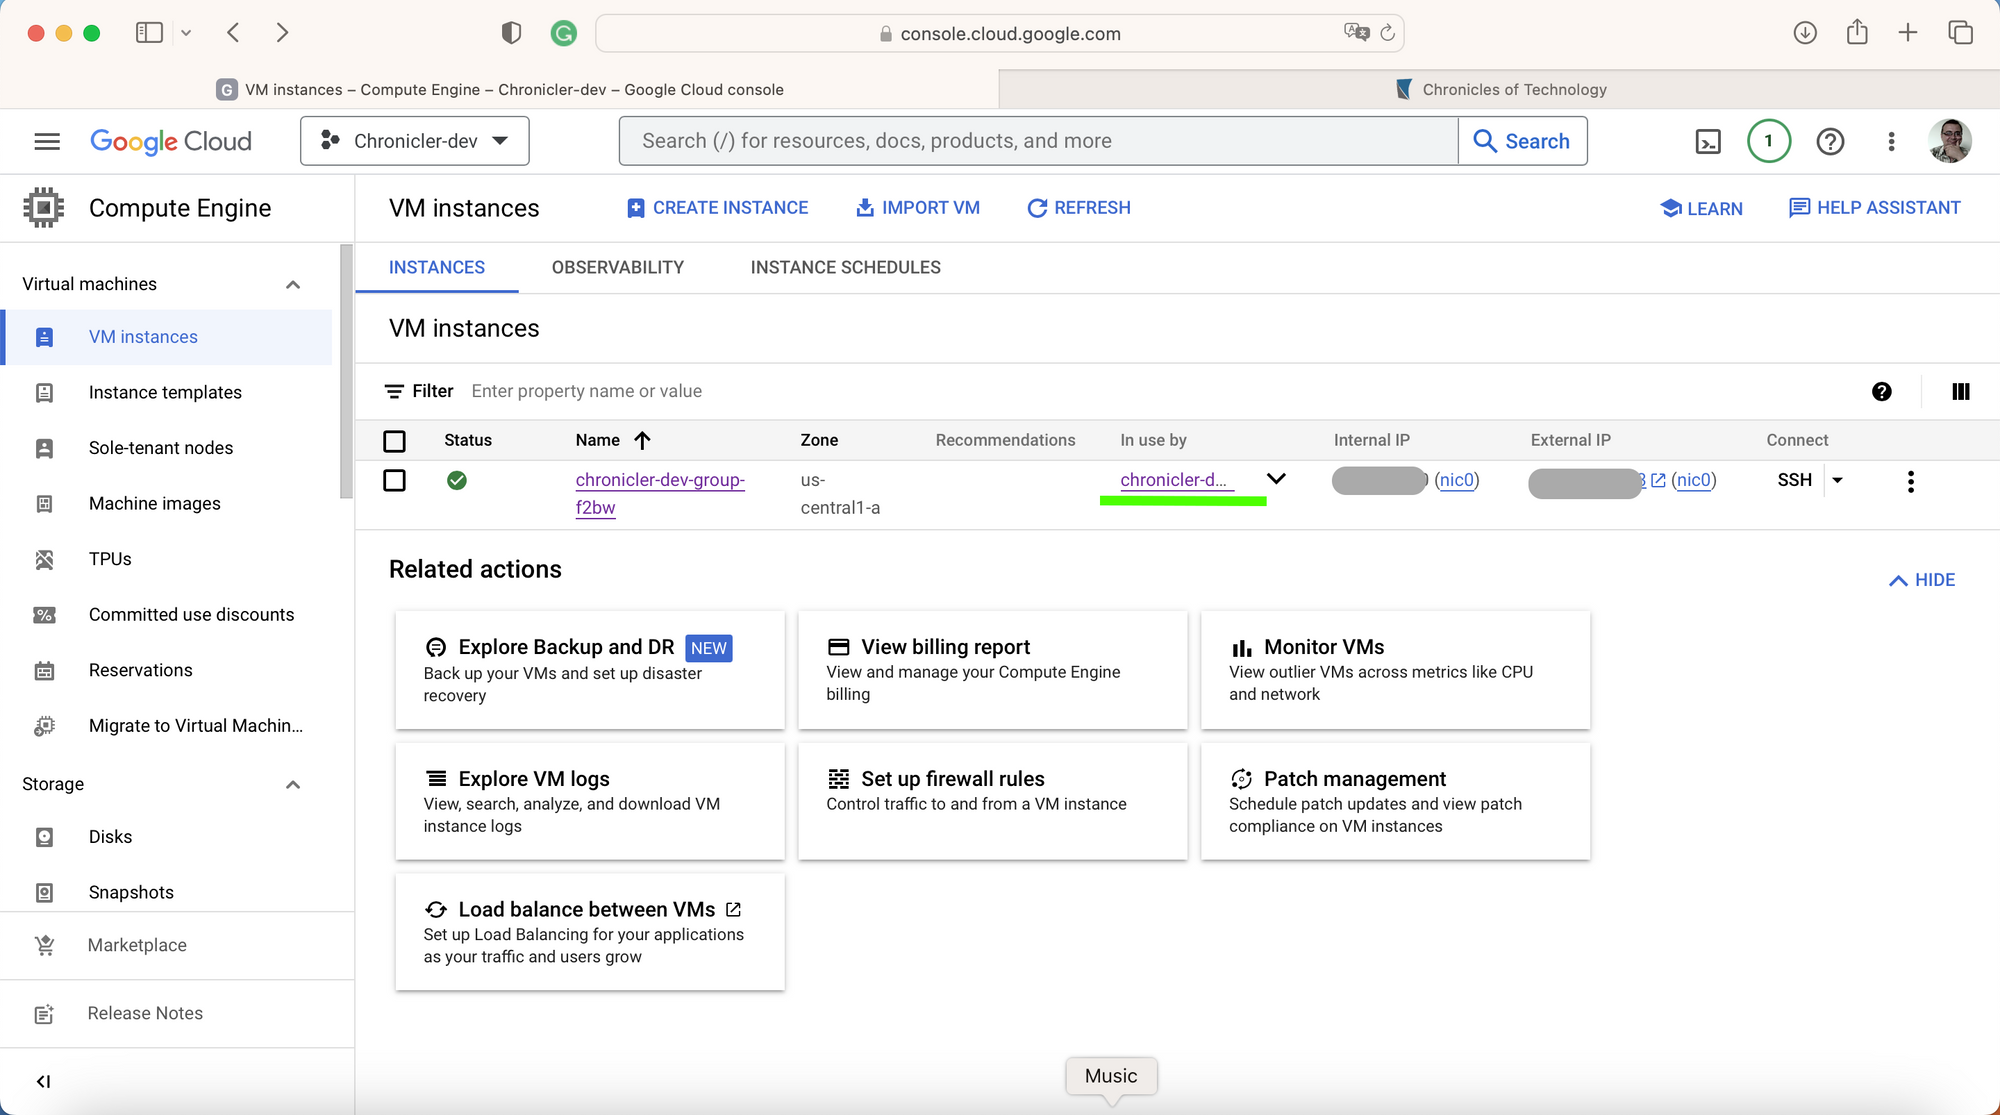
At this time, you may want to drop unmanaged VMs and relay to the instance group only. Now, having permanent and memorizable access to the setup would be nice. So the next configuration effort is the load balancer.
HTTP Load Balancer
The first puzzle you should solve - is where the load balancer is. You may think it's under the VPC Networks section, but it is not. You may not even find it without the console search. Start typing "load bal.." and you find the whole class of products - Network Services. Here, under the Load Balancing section, click the "+ CREATE LOAD BALANCER" link to start the configuration wizard.
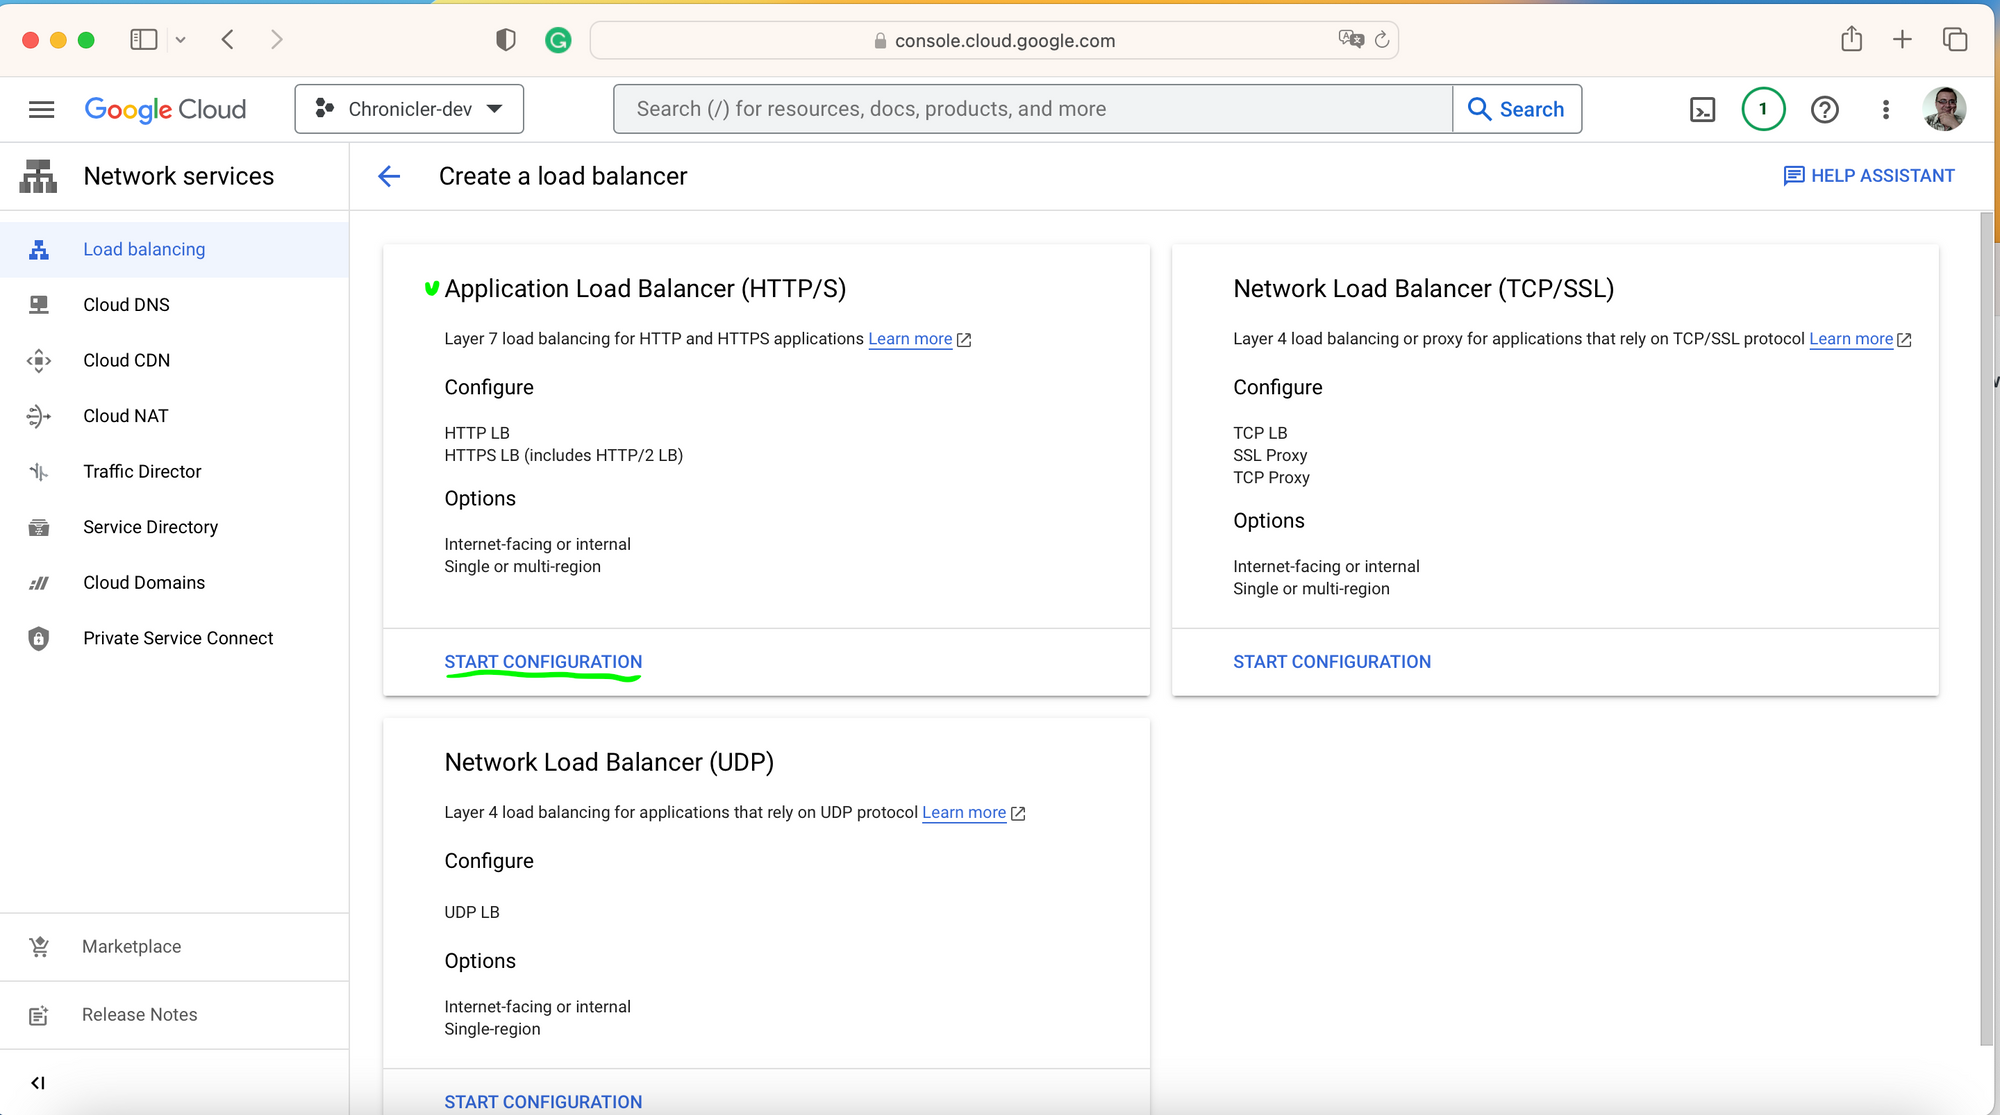
Since we create a website with HTTP(-S) traffic only, click on START CONFIGURATION under the Application Load Balancer.
On the next step, define allocation and access to your new load balancer. Of course we want to be able access it from the internet, and there is no much reson select classic load balance for the new project, or make it global since we have a single VM in a single region. Walk through the loadbalancer configuration steps from the Google's how-to document. The document gives exact firewall configuration instructions to enable HTTP traffic to the backend services for. Take anoter minute to configure the load balancer health check, it could be used for the instance group as well.
When you finish with the load balanacer configuration, your development site will be available on the http://<lb-ephemerial-IP-address>/. You could even try it, but please don't send your credentials over HTTP protocol. Let's wait the next topic - DNS and certificate configuration.
Previous articles in the series are: