Configuring Cline on Visual Studio Code

Visual Studio Code is an integrated development environment (IDE) for Windows, Linux, macOS, and web browsers. It supports many programming languages, debugging, extensions, source control and more. Also referred to as VS Code, it can be downloaded from here.
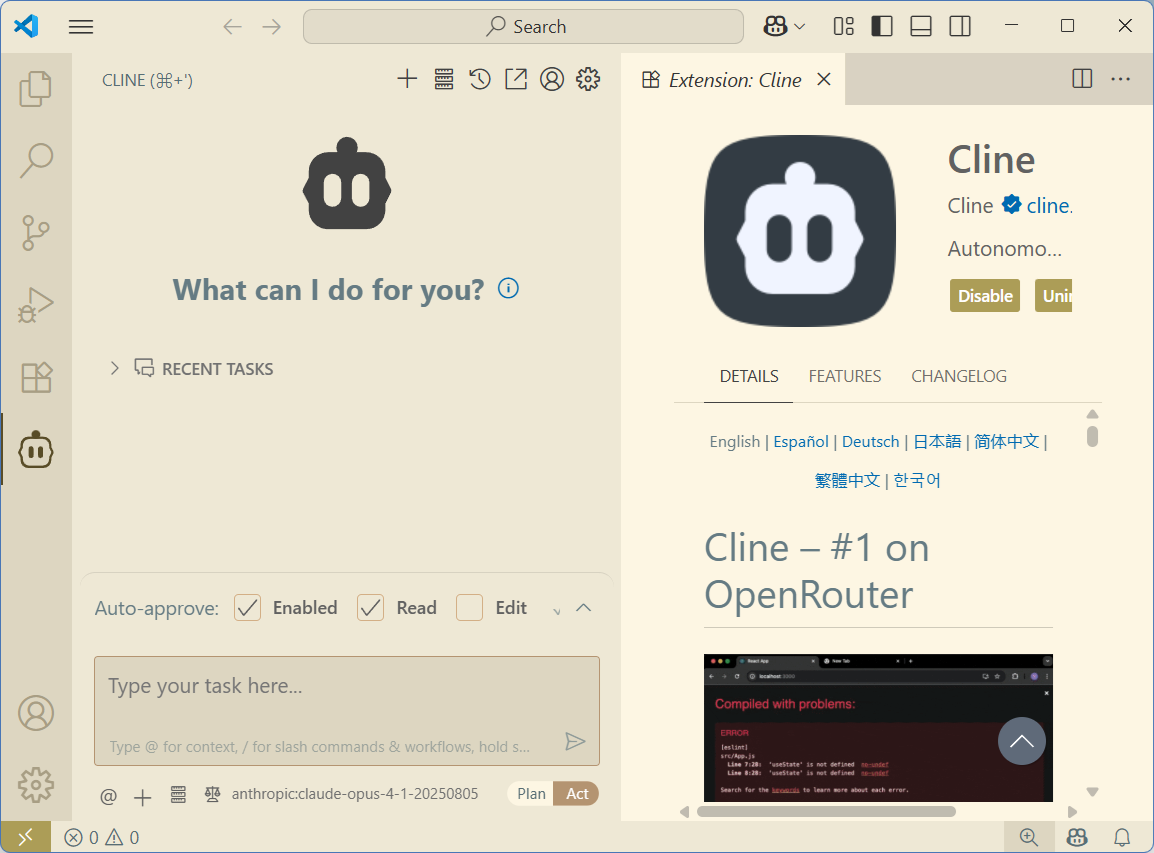
Cline AI is an open-source AI coding assistant designed to integrate with VS Code. One of Cline's limitations is that is only works with VS Code and no other IDE. Cline utilizes large language models (LLMs) to enhance coding efficiency, offering features like real-time code completion, error detection, and project management capabilities.
This blog post describes how to install and configure the Cline extension onto VS Code.
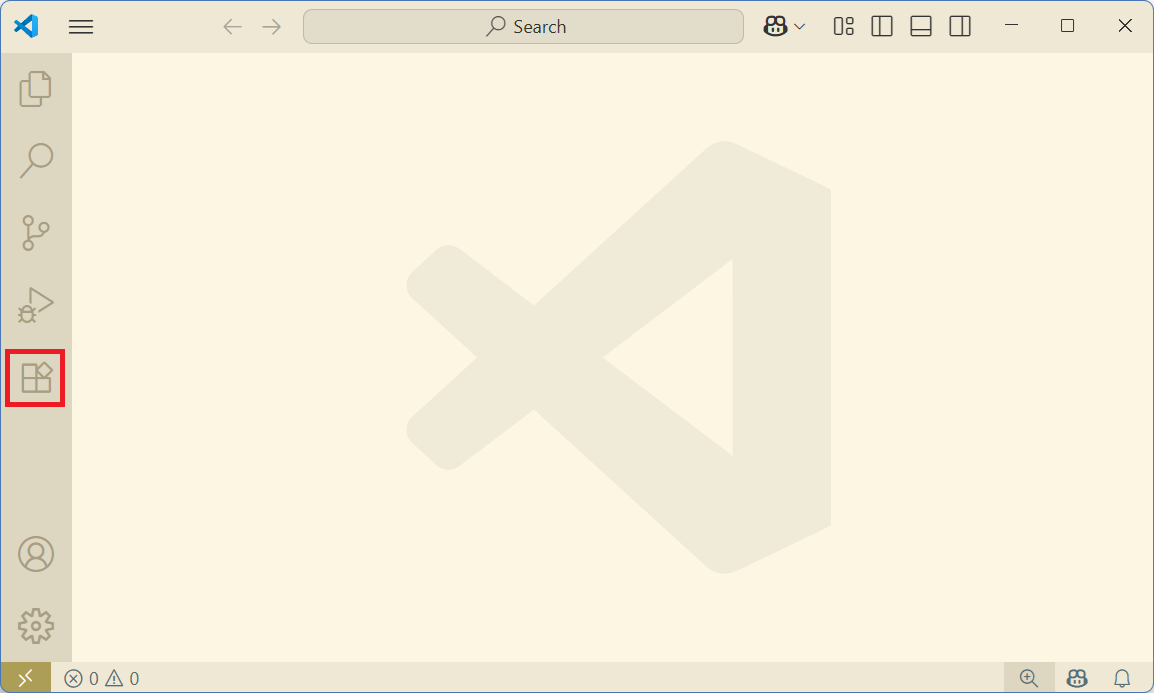
- Start VS Code and click on the extensions icon as shown
- Search for "cline" then click on Install

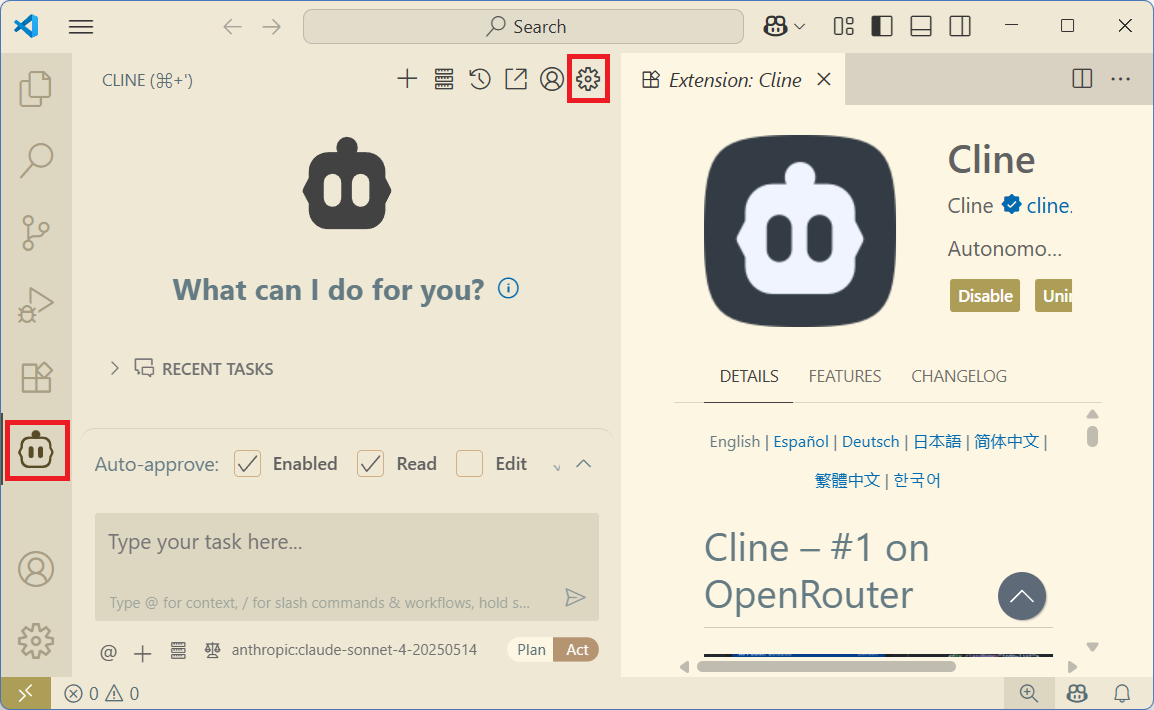
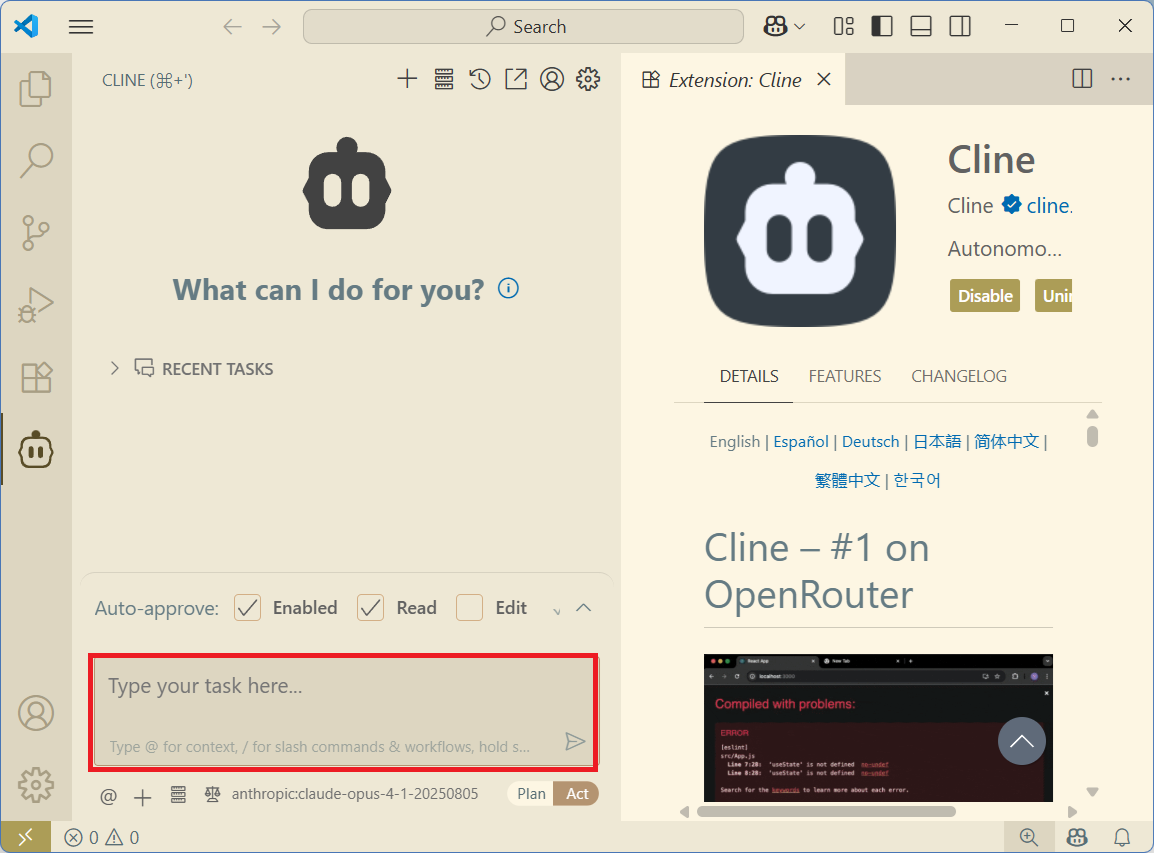
- Once installed, click on the Cline icon on the left, then the Settings icon (the gear icon)
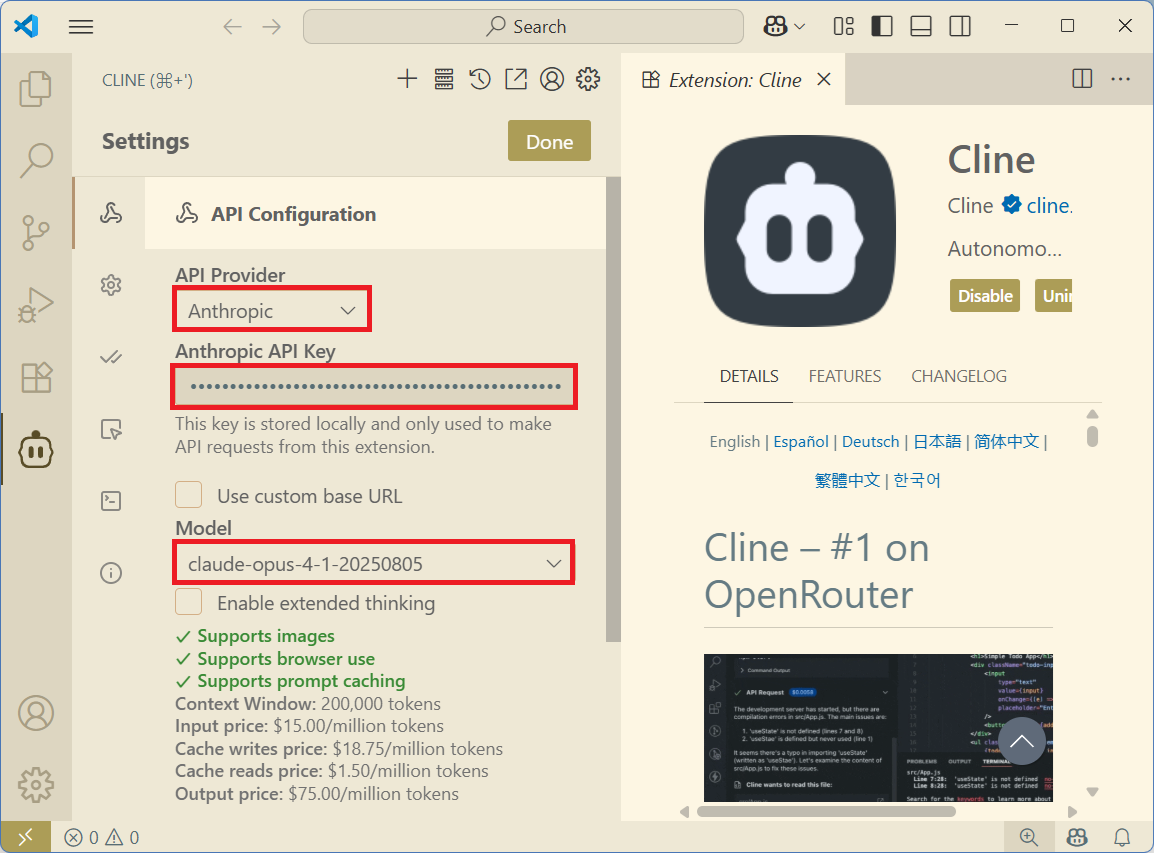
- Here, select your API Provider, enter your API Key, and select your model, then click Done
- You are now taken back to the Cline prompt where you can start a new project from scratch (via a prompt) or edit an existing project
This blog post describes how to create an API key on Anthropic.
This other blog post covers a more in-depth explanation on how to use Cline within VS Code.
Some Other Comments
- Cline is a plug-in to VS Code and can connect to any number of API providers and models for its AI reasoning. I happen to choose Claude (from Anthropic) because of the superior results I have personally experienced with it.
- In the settings, it appears that "Enable extended thinking" is best suited for multi-step, complex coding tasks but can also lead to hallucinations. It will take longer and cost more though.