Keycloak: Use Oracle Autonomous database
The Keycloack Server documentation recommends an external database to persist realms configuration. The article describes how to configure Oracle Autonomous Transaction Processing service with WildFly/JBoss application server.


The Keycloak Server Installation and Configuration documentation recommends an external database to persist realms configuration. I decided to spice my life a little bit and configure it with the Oracle Autonomous Transaction Processing service. The configuration steps should be useful for any application deployed on WildFly/JBoss application server.
I have broken installation steps into three parts:
Database Service Preparation
For this sample installation, I have created a free tier transaction processing instance. It's eligible for the free tier, so I shouldn't worry about the license or operational costs for now.
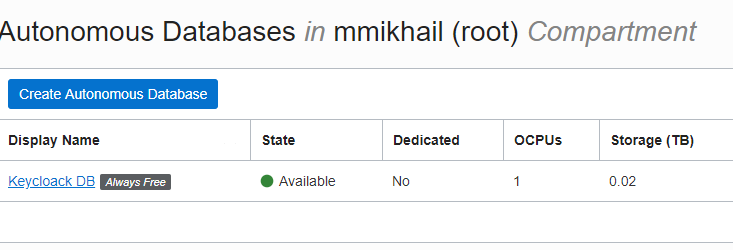
Click on the instance name to get access to the instance-specific resources. To prepare the database, we need two things: database connection descriptor and create a database user for the Keycloak server.
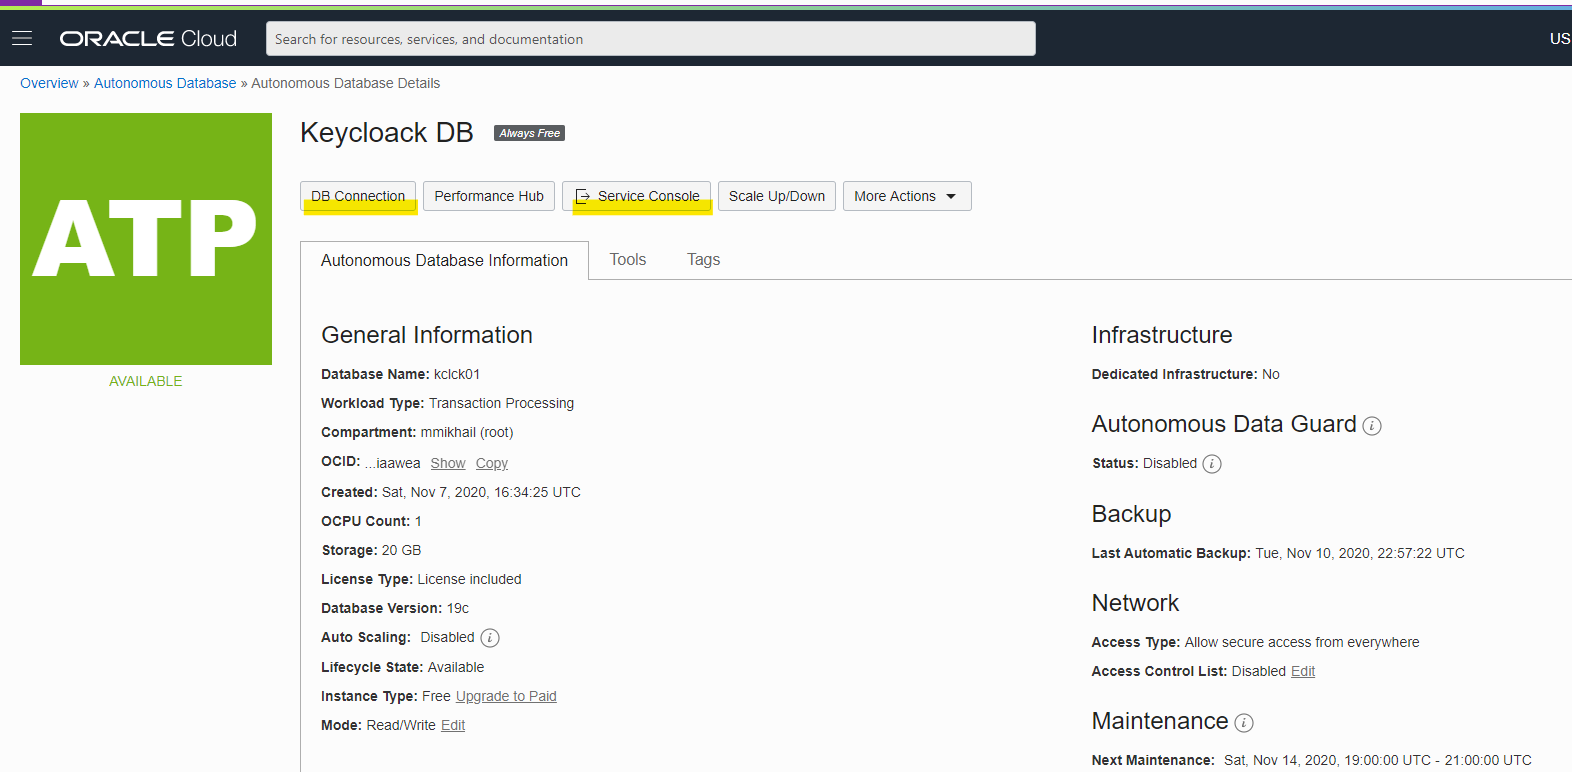
Click the "DB Connection" button to get all the necessary connection details. Don't be confused with the popup window title; it's not only a wallet but an archive with Oracle client configuration files. Select wallet type - Instance Wallet, for this database instance, or Regional if you have more than one database instance.
Please, keep in mind that the wallet's certificate has an expiration date relatively short validity, and you should rotate wallets to keep your applications connected.
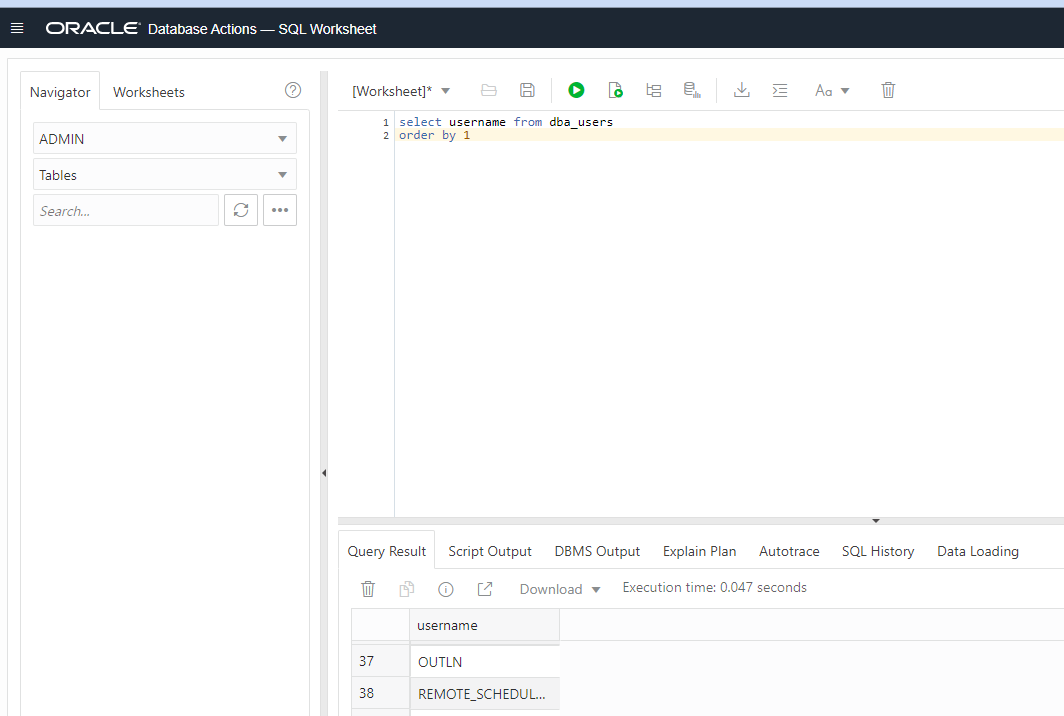
To create a new database user, you need to do a few more clicks: click on the Service Console button, then on the left side click on the Development link, finally select SQL Developer WEB. Now you can provision users, assign roles, and do regular DBA tasks.
The database part is ready for clients, and it's time to prepare Oracle Client.
Oracle Instant Client Configuration
You can find detailed instructions and how-tos all over the internet. So I'll keep it brief.
- Download the latest Oracle Instant Client for your target platform. I configured Keycloak on Ubuntu instance, so Basic Package for Linux x86-64 is my choice. The client could be downloaded straight to the boxes with the direct archive links and wget utility.
- Unpack the client archive on the server, and make sure that the server owner has read-only access to the Oracle client location.
- Update the OS user environment with the configuration as below. Use your own database client location:
ORACLE_HOME=/opt/instantclient_19_9/
TNS_ADMIN=$ORACLE_HOME/network/admin
PATH="${PATH}:${ORACLE_HOME}"
LD_LIBRARY_PATH="${ORACLE_HOME}:${LD_LIBRARY_PATH}"

export ORCLE_HOME TNS_ADMIN PATH LD_LIBRARY_PATH
- Create $TNS_ADMIN folders if it does not exist.
$ source ~/.bash_profile
$ mkdir -p $TNS_AFMIN
- Unpack the database connection archive under the $TNS_ADMIN/ folder
$ cd $TNS_ADMIN
$ unzip /tmp/Wallet_dbsid01.zip
Now the database client and environment are ready for the next step.
Application Server Configuration
WildFly is a highly modular application server, so if you want some additional functionality, you should add new modules and use them. I have started with this good piece, posted by @AdamBien. To make it work with the Autonomous database service, I alter the database connection pool descriptor to use JDBC/OCI drivers instead of JDBC/Thin layer.
The Oracle note Doc ID 2321763.1 describes the exact symptoms of the issue with JDBC/Thin drivers.
My final version of the JDBC pool configuration for the standalone Keycloak server:
<datasources>
  <datasource jndi-name="java:jboss/datasources/KeycloakDS" pool-name="KeycloakDS" enabled="true" use-java-context="true" statistics-enabled="${wildfly.datasources.statistics-enabled:${wildfly.statistics-enabled:false}}">
    <connection-url>jdbc:oracle:oci:@kclck01_high?TNS_ADMIN=/opt/instantclient_19_9/network/admin</connection-url>
    <driver>oracle</driver>
    <security>
       <user-name>KCLCK</user-name>
       <password>***********</password>
    </security>
    <pool>
      <max-pool-size>100</max-pool-size>
    </pool>
   </datasource>
.....
   <drivers>
     <driver name="h2" module="com.h2database.h2">
        <xa-datasource-class>org.h2.jdbcx.JdbcDataSource</xa-datasource-class>
	 </driver>
	 <driver name="oracle" module="com.oracle">
        <driver-class>oracle.jdbc.driver.OracleDriver</driver-class>
     </driver>
   </drivers>
</datasources>
It's taken a good half of my day to combine and compile all the steps and produce a working installation, but with the steps above, you could reproduce the same configuration in terms of minutes.