Impressive Autonomous AI Code Generation with Cline


I was truly impressed with my first experience using Cline, an open-source AI coding assistant. In this blog post, I'll demonstrate how to use Cline to fully and automatically generate code from a natural language prompt, requiring zero coding on part of the developer.
Granted this is a low complexity code generation example, my initial reactions with Cline are nonetheless positive. I have yet to use it to create medium or high complexity code.
Cline, formerly known as ClaudeDev, is an alternative to GitHub Copilot. Cline has dual Plan/Act modes and is available as a plugin for VS Code. The version being tested here is Cline 3.6.10.
Create an API Key
Although you can use any number of different providers, in this example I am using Anthropic. When signing up for the first time, Anthropic provides $5 worth of credit towards your API calls, more than enough for the exercise in this blog post.
- Navigate to console.anthropic.com and create an account.
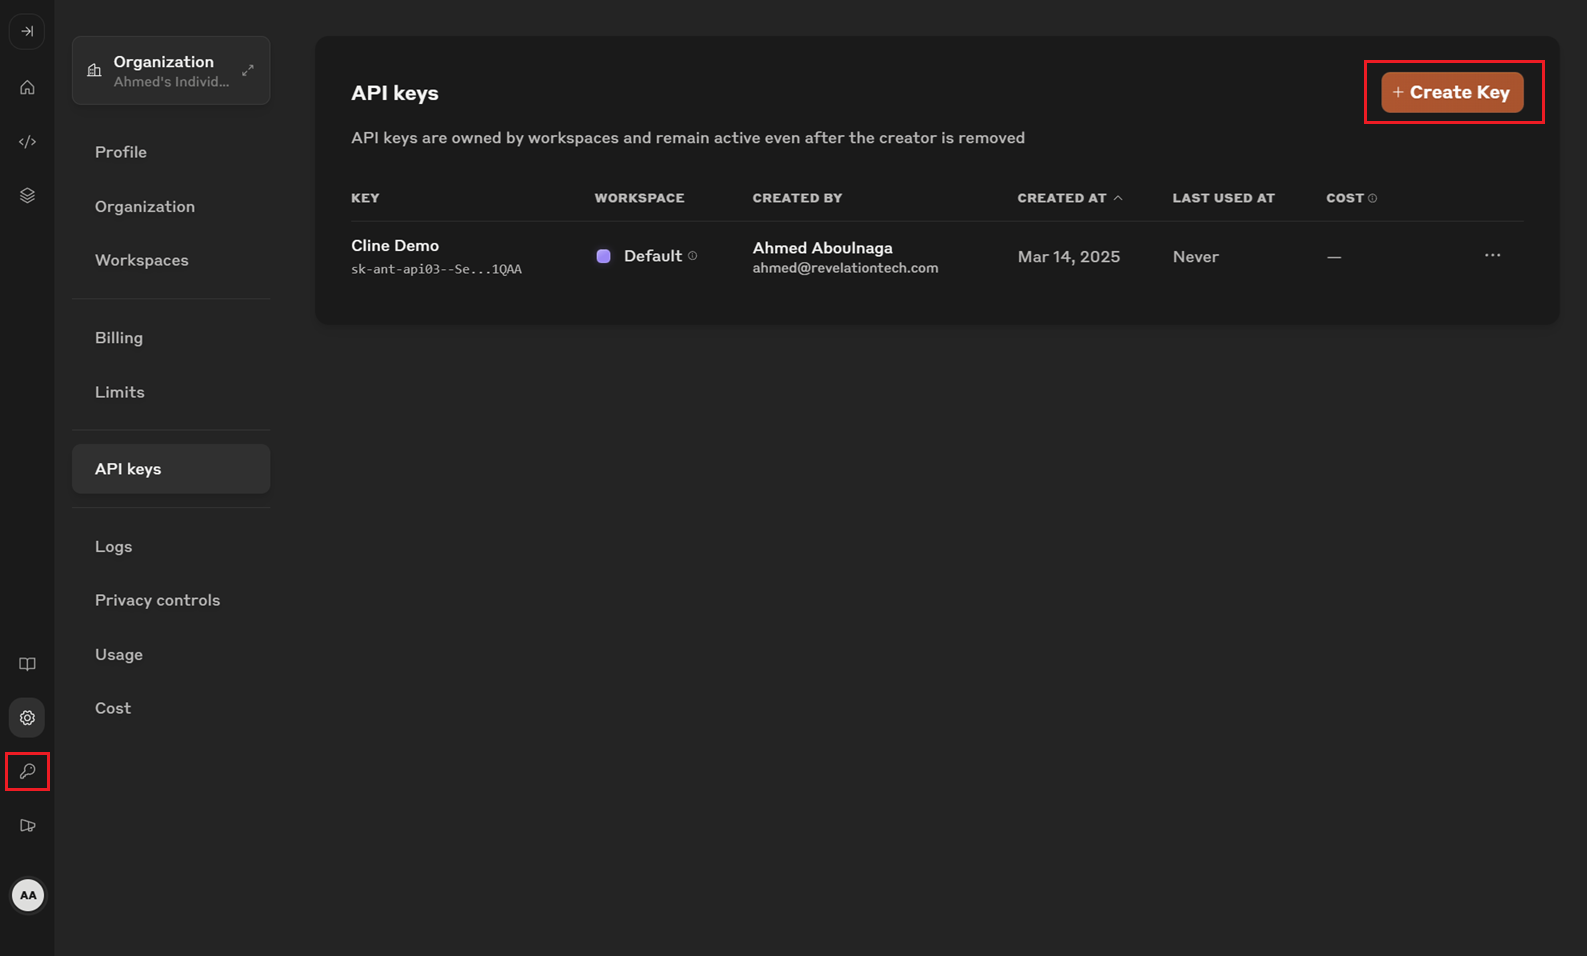
- Click on the key icon on the bottom left to access the API Key page.
- Click on Create Key.
- Give the key a name (e.g., Cline Demo) and click Add.
- Copy the key value and keep it handy. This will be needed later during the Cline configuration.
Install Visual Studio Code (VS Code)
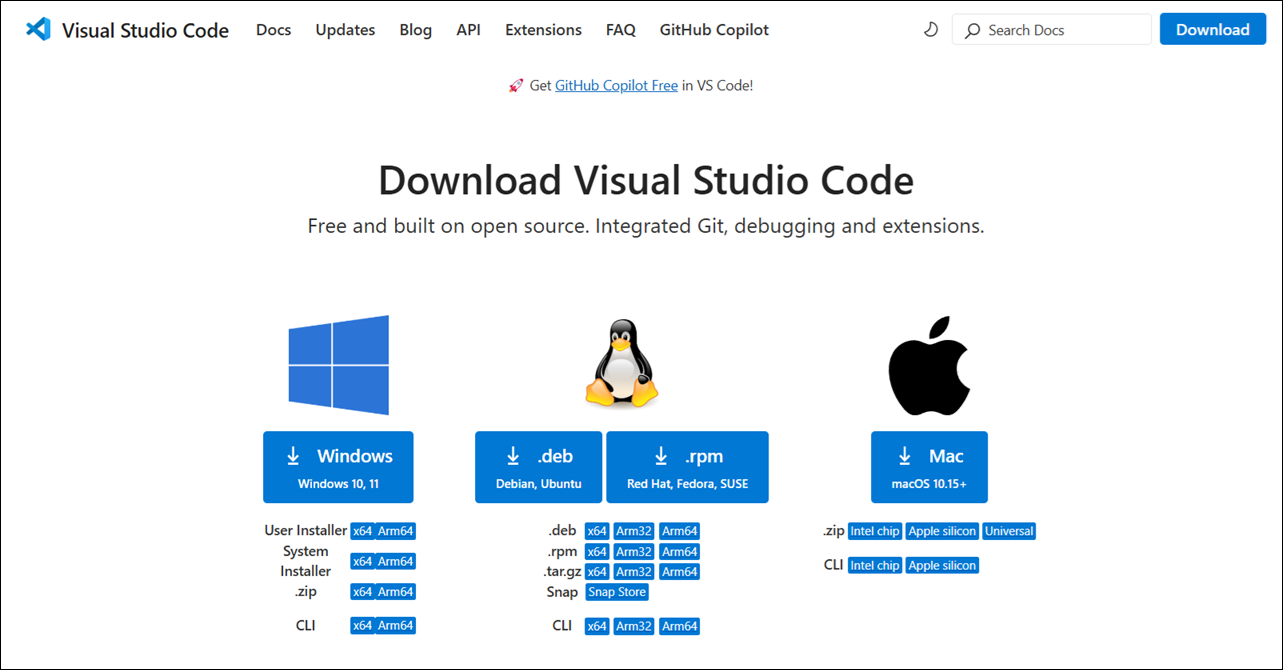
I'll one day create a separate blog post detailing the steps to download and install Microsoft Visual Studio Code (aka VS Code), but it's a relatively simple and straightforward process.
- Navigate to code.visualstudio.com/download to download and install VS Code to your workstation.
Install the Cline Extension on VS Code
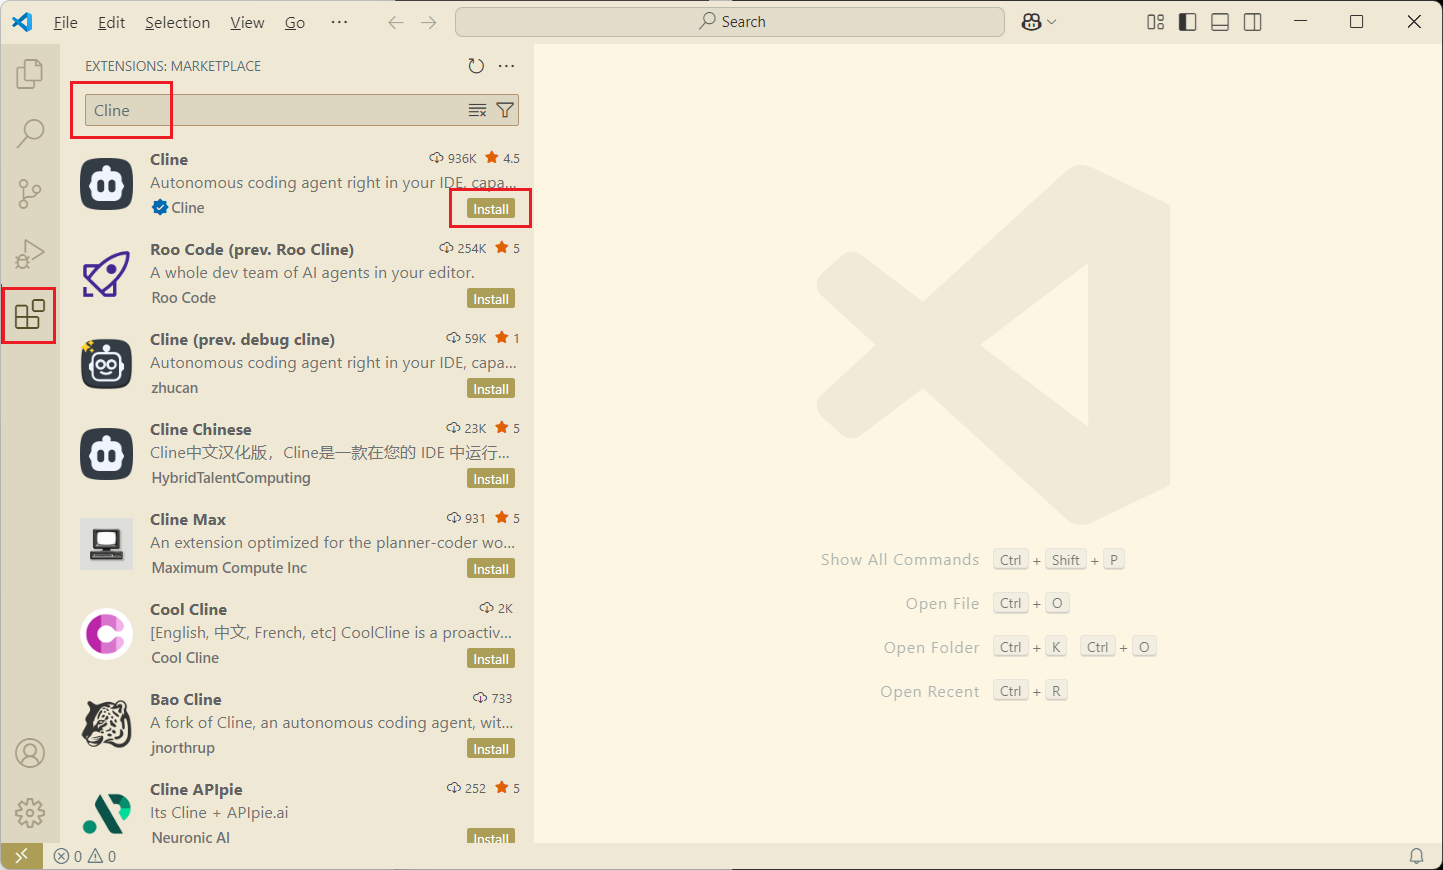
Cline is offered as an extension to the VS Code IDE.
- Startup VS Code.
- Click on the extensions icon on the left.
- Search for "Cline" then click on Install to install the extension.
- Click Trust Publisher & Install.
- Click on the extensions button again to collapse the menu since it is no longer needed.
Create a Blank Project in VS Code
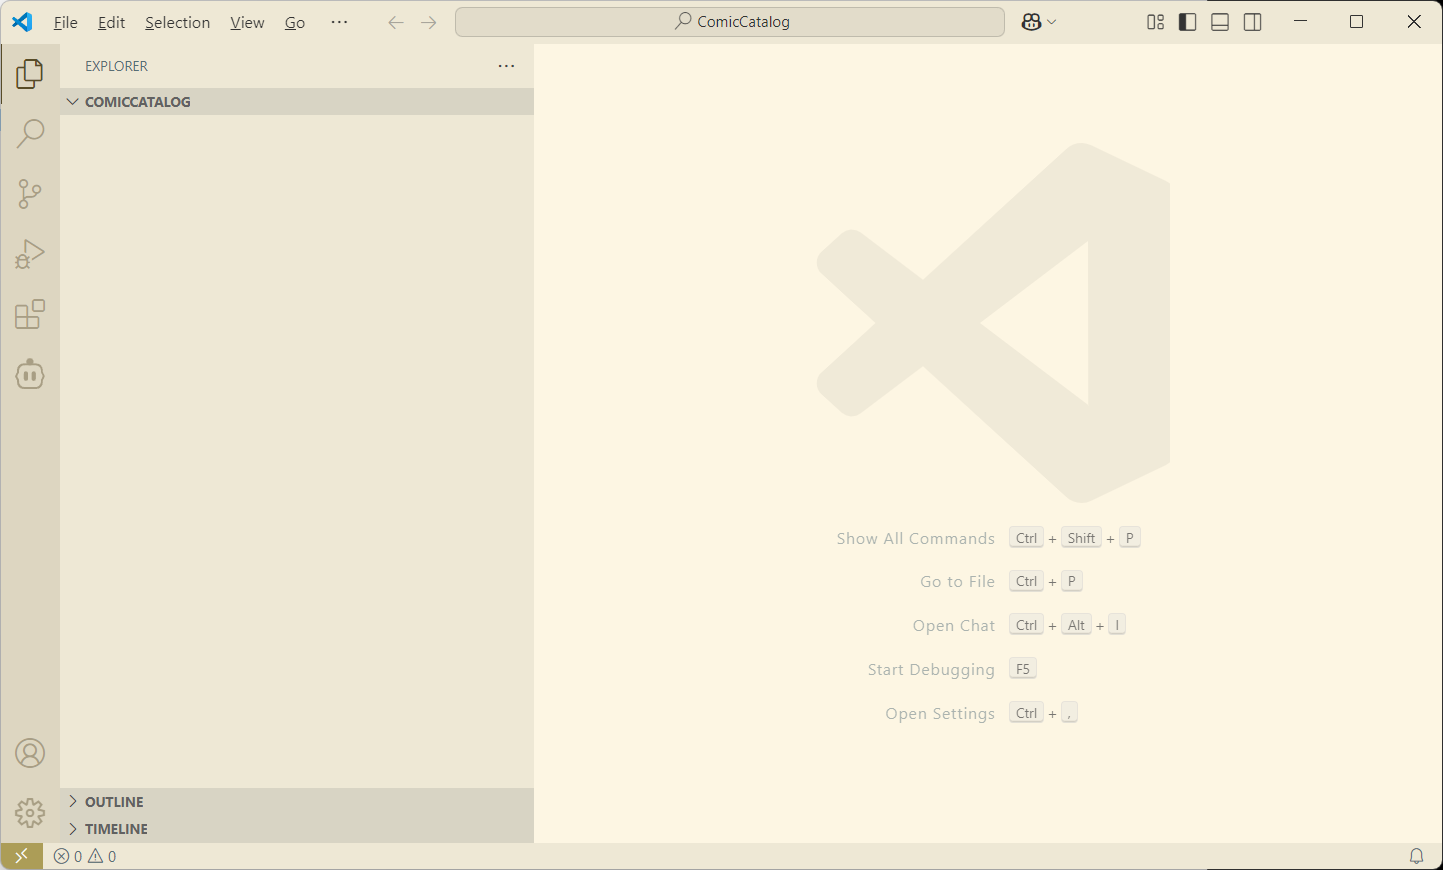
At this point, we're really not creating a project, but rather just a folder.
- Create a local folder
C:\ComicCatalog. - In VS Code, click on File > Open Folder.
- Select
C:\ComicCatalog. - If prompted, click Yes, I trust the authors.
Configure Cline
Configuring Cline simply involves selecting your LLM and entering your API key. Based on what I read from others online, Anthropic seems to work preferably well with Cline.
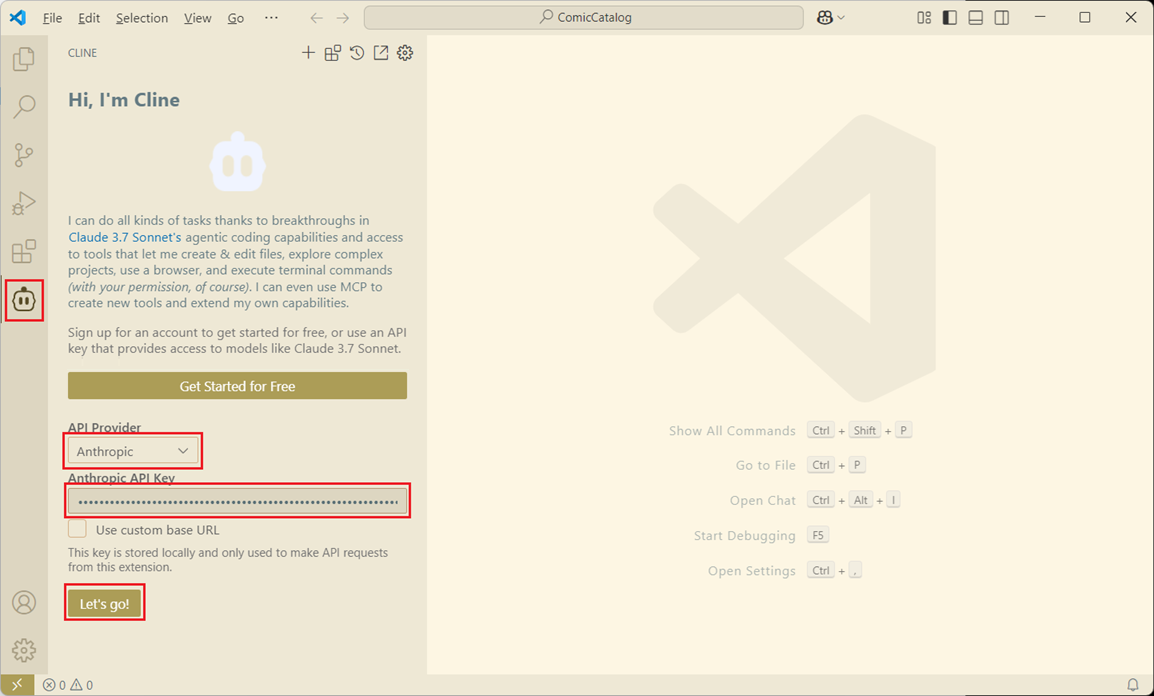
- Click on the new Cline icon shown on the left.
- Click Use your own API key.
- For the 'API Provider', select Anthropic.
- For the 'Anthropic API Key', paste the key captured in the first step.
- Click Let's go!
- Click Deny to prevent sending anonymous error and usage data.
The default model used is claude-3-7-sonnet-20250219, but this can be changed in the Cline configuration page. It supports images and prompt caching. The max output is 8,192 tokens. The cost is $3 for 1 million tokens.
"Planning" to Create the App
In my case, I'll be creating a comic book catalog app. Here is the prompt I intend on using:
(1) Create a simple web application using HTML, CSS, and JavaScript.
(2) This web application will be used to catalog comic books.
(3) The title of this application is "Comic Catalog".
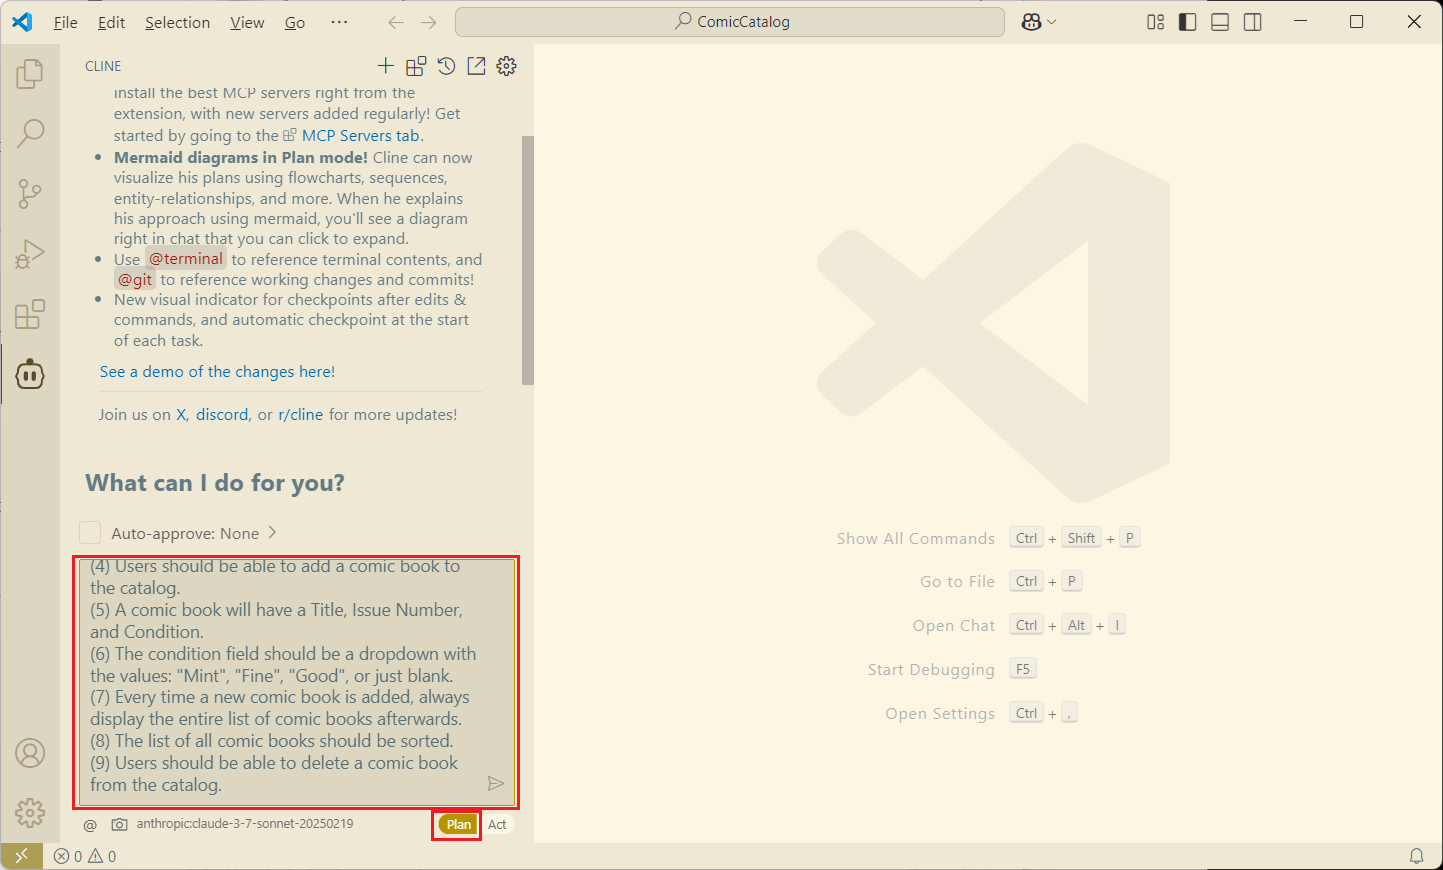
(4) Users should be able to add a comic book to the catalog.
(5) A comic book will have a Title, Issue Number, and Condition.
(6) The condition field should be a dropdown with the values: "Mint", "Fine", "Good", or just blank.
(7) Every time a new comic book is added, always display the entire list of comic books afterwards.
(8) The list of all comic books should be sorted.
(9) Users should be able to delete a comic book from the catalog.
Cline has a Plan phase and an Act phase. The Plan phase will allow the engine to collaborate with you on a plan and will not write code. This allows for thoughtful planning as you continually tweak it instead of spending hours editing prompts to get it perfect.
- On the bottom, click on the Plan button.
- In the field shown, paste the prompt and run it.
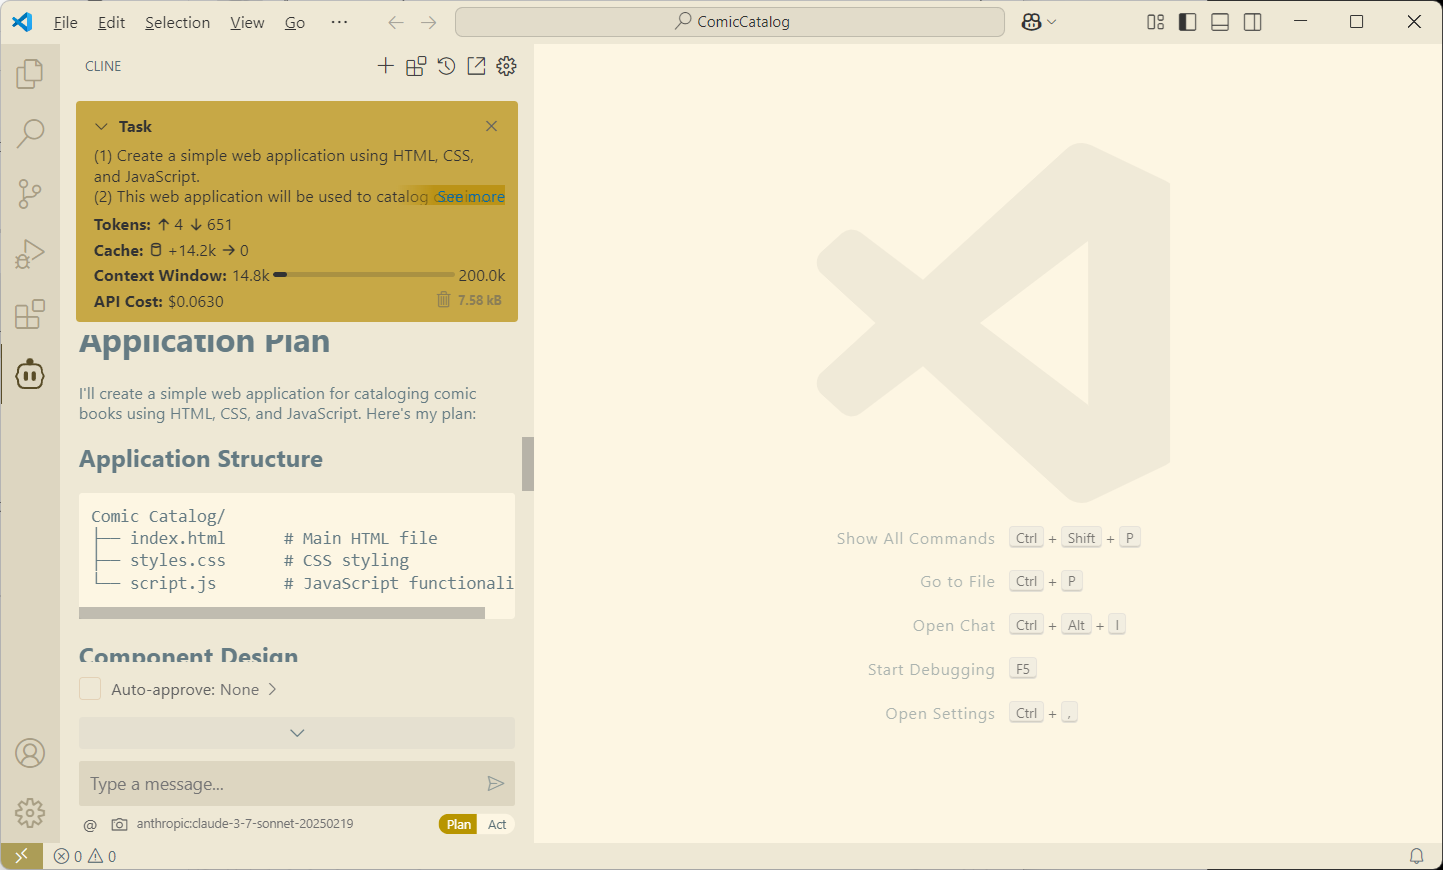
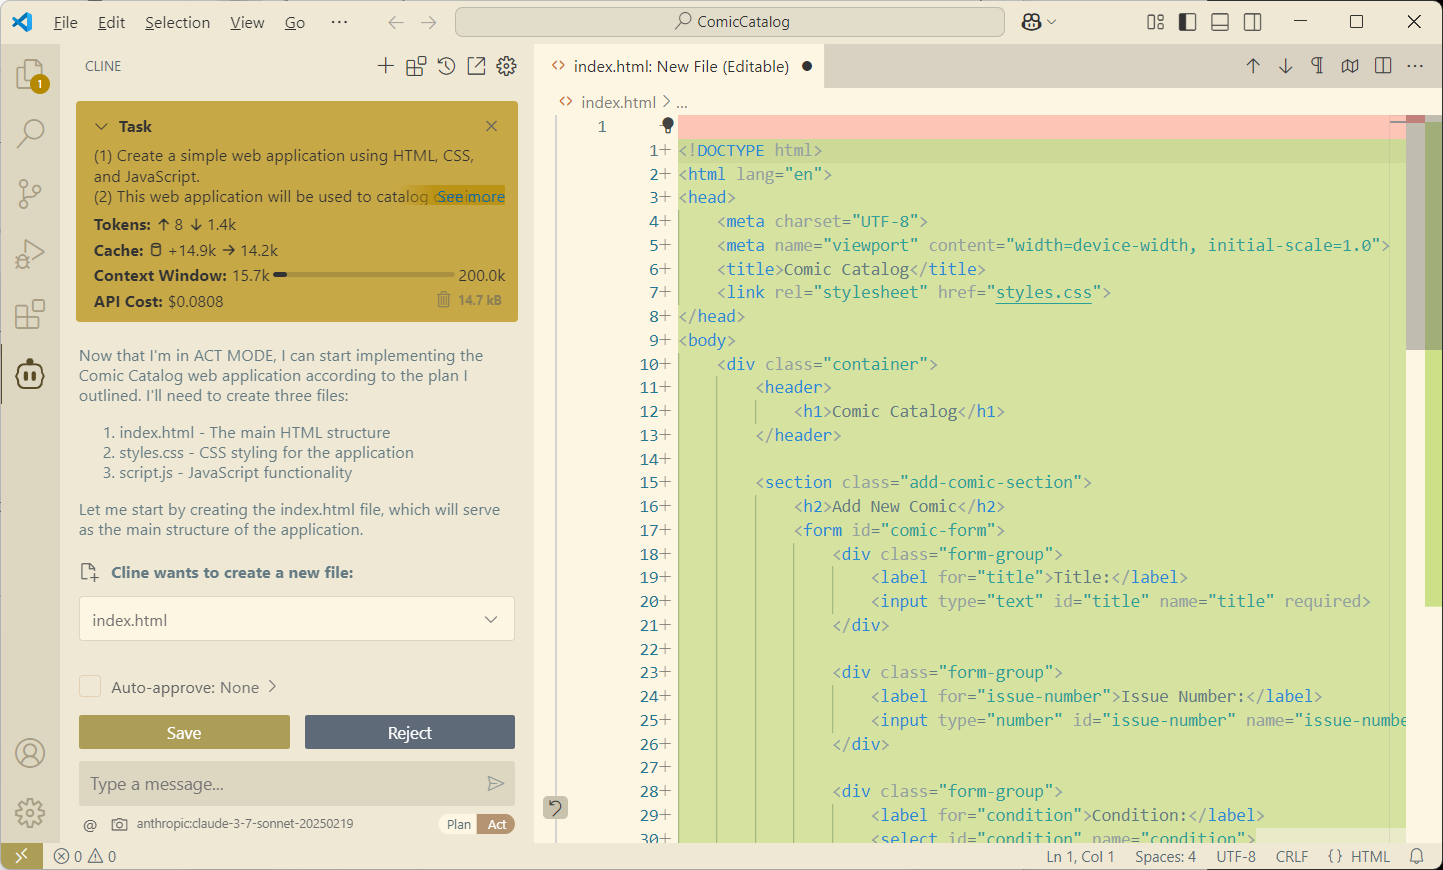
From the next screenshot, you can see how many tokens were sent and received and the cost of this effort thus far ($0.063).
Cline shows the application structure it intends on creating as well as a narrative breakdown of the requirements.
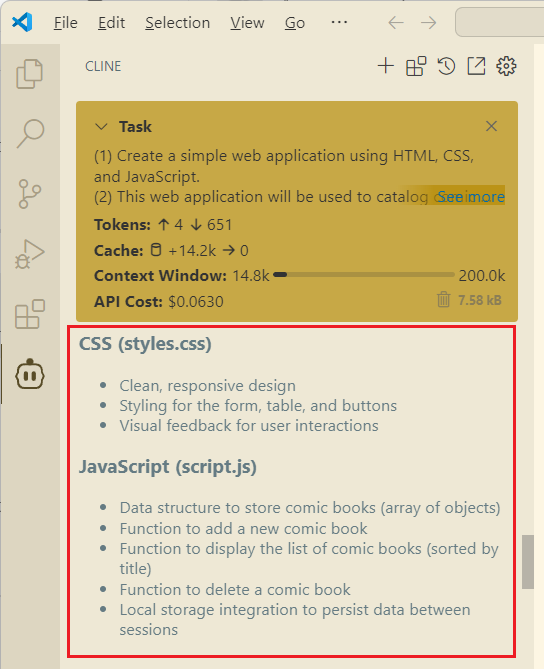
An explanation of what will be done in each file is described, as shown in the following screenshot. For example, in the JavaScript file, it will create a data structure, three functions, and save everything to local storage.
Create the App
Creating the application is as simple as clicking on the Act button.
- Click on Act.
- Sample content for the first file
index.htmlis created.
- Since auto-approve is not on, you must manually approve each file (a good thing!). Do this by clicking on Save.
- Repeat this for all files.
Test the App
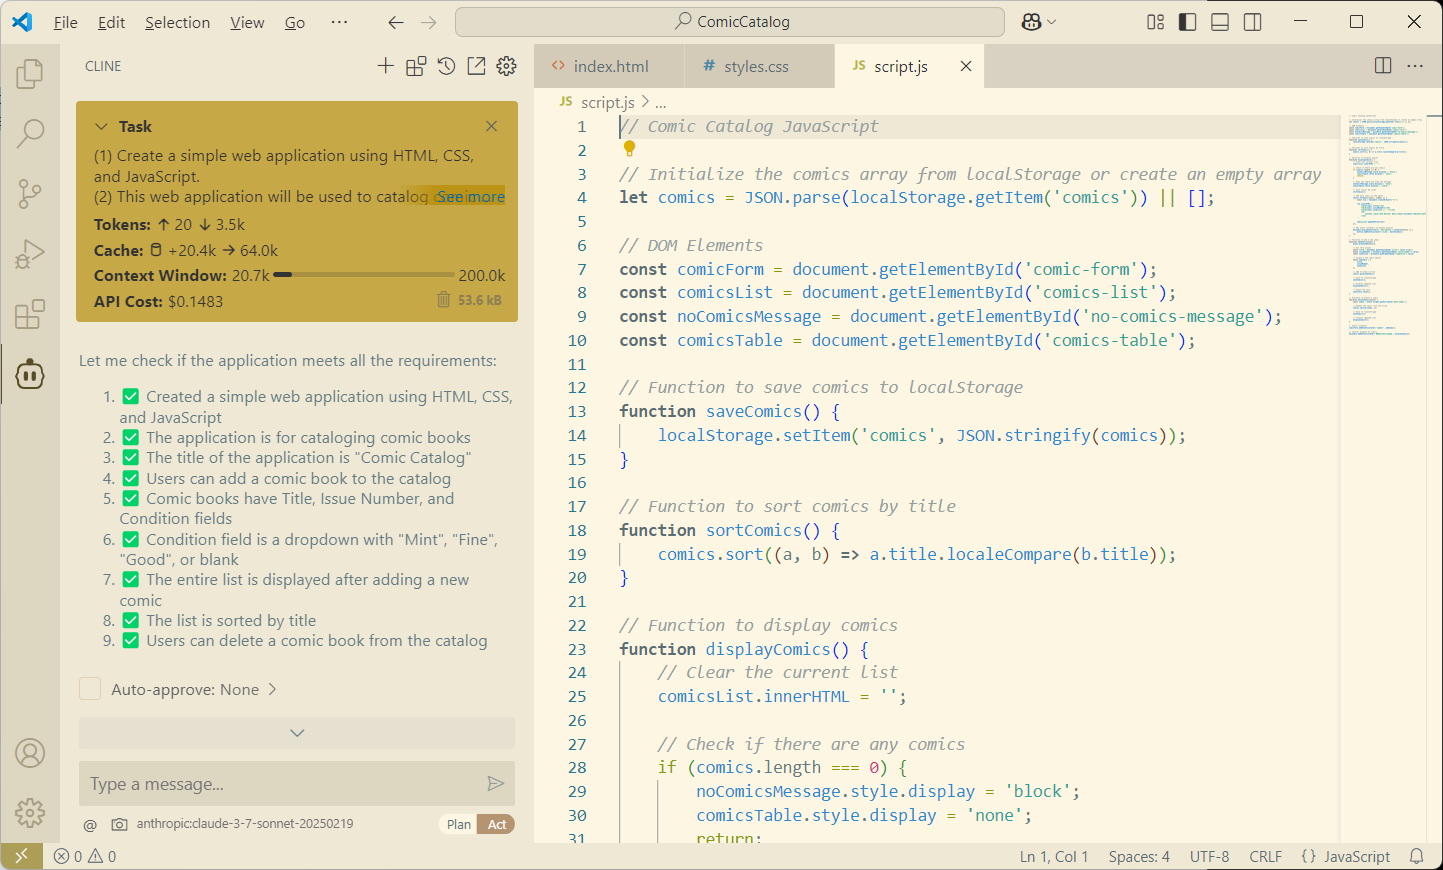
When it's done, Cline will run a test itself (wow!) to see if the application meets all the requirements. In this screenshot, you can see that it has listed all the identified requirements.
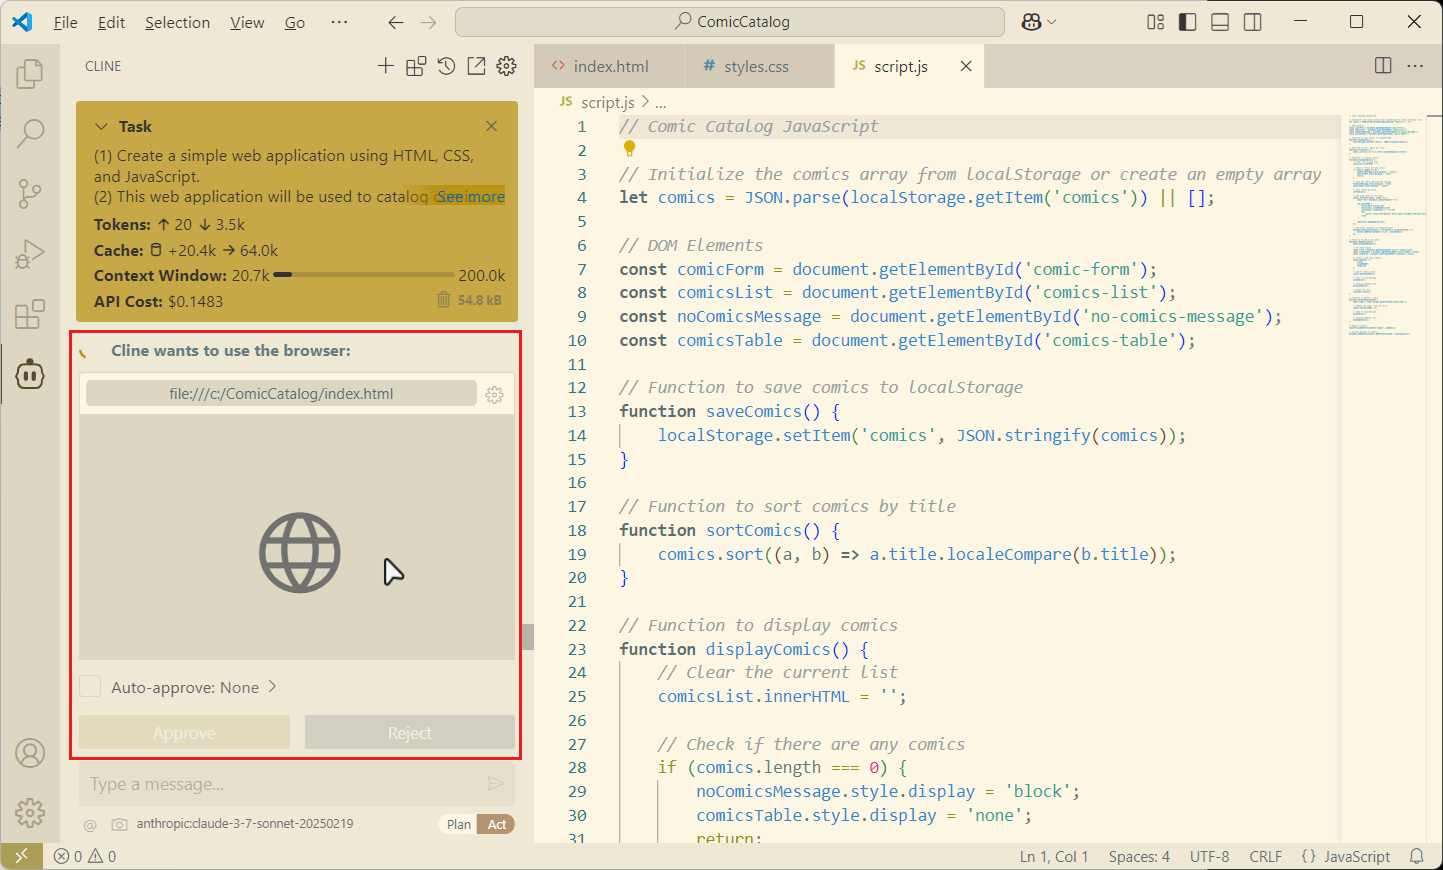
Cline will do all the testing for you, but it still needs authorization to launch a browser.
- Cline will want to use the browser, so click Approve.
Debug the App
Cline steps through and tests each of the requirements. If there's a bug it encounters, it'll ask you if you will allow it to add debug statements so that it can figure out a fix.
In my example, there were no bugs.
Run the App
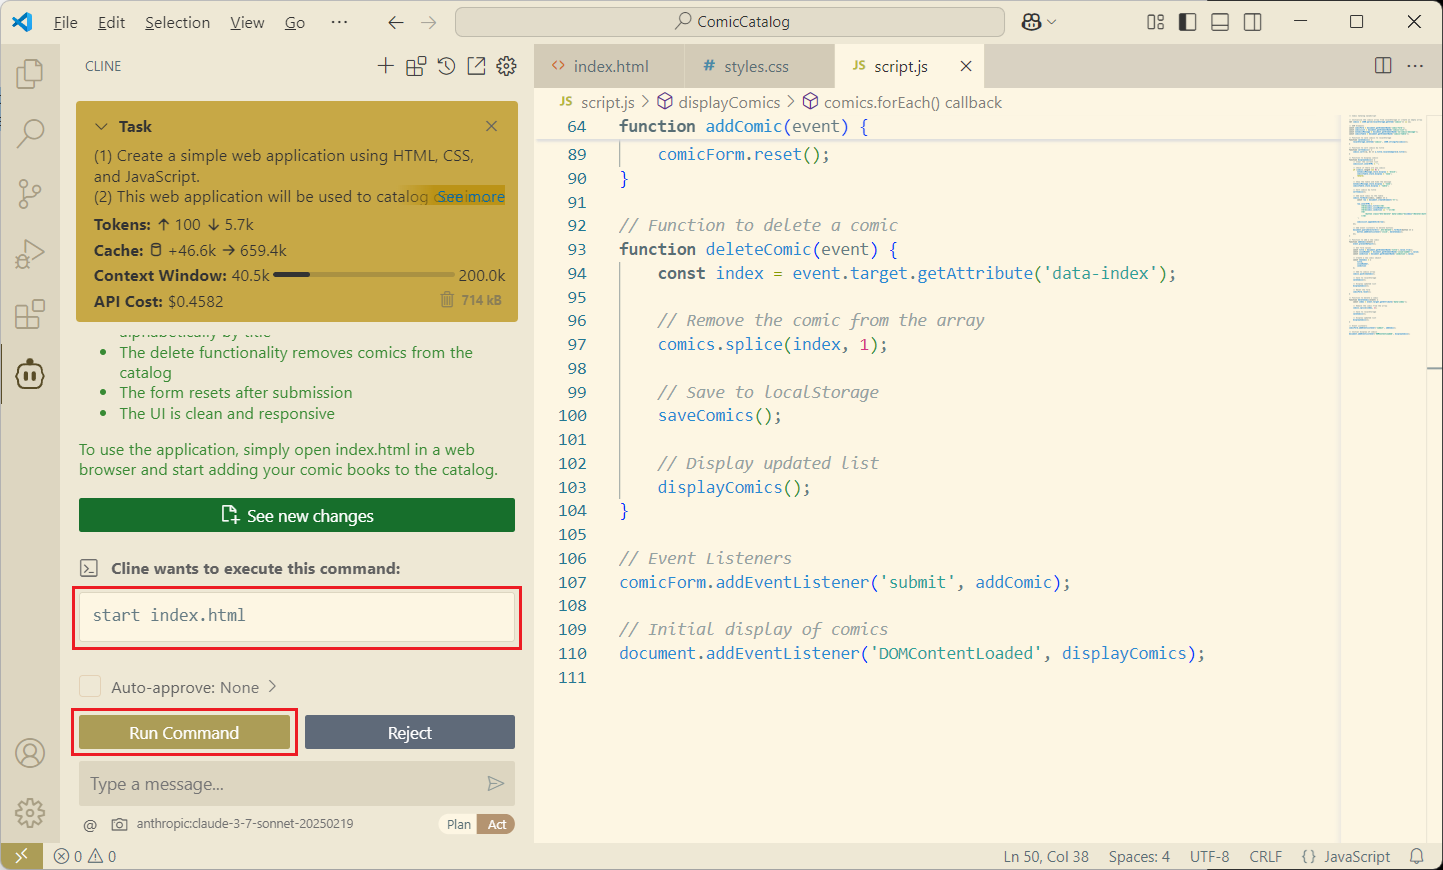
When the code is all created, tested, and debugged, Cline summarizes everything that was performed (shown in the green font below).
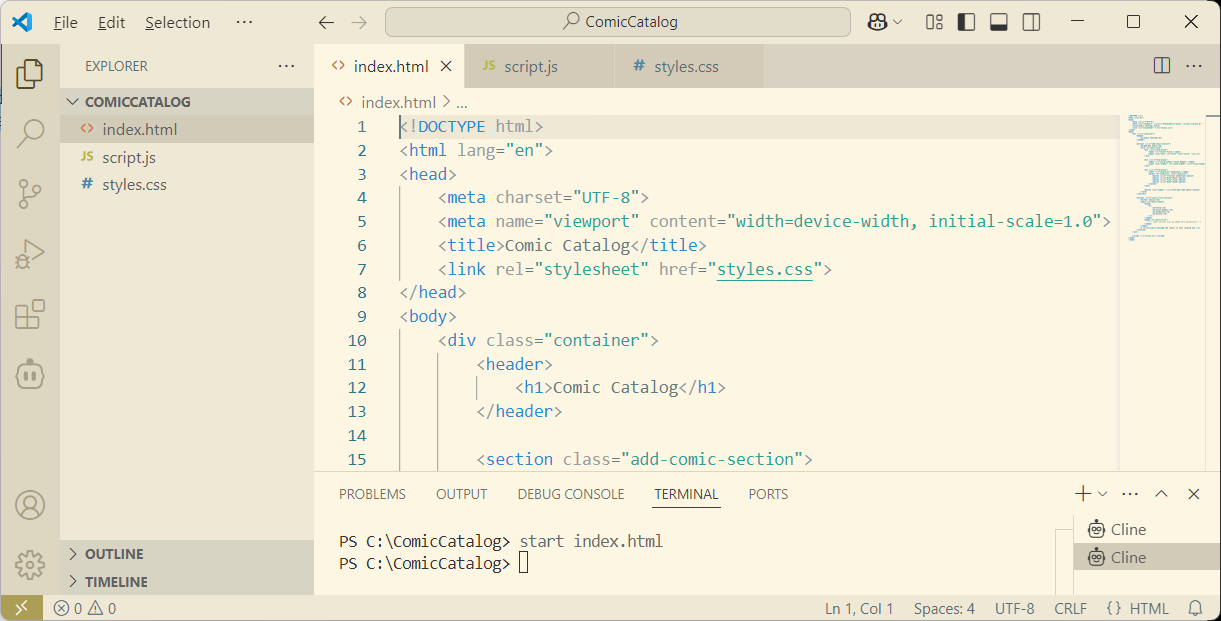
Instructions are then provided on how to execute this code. Since it's a simple HTML file, I can open it externally from my browser or run the command directly as shown.
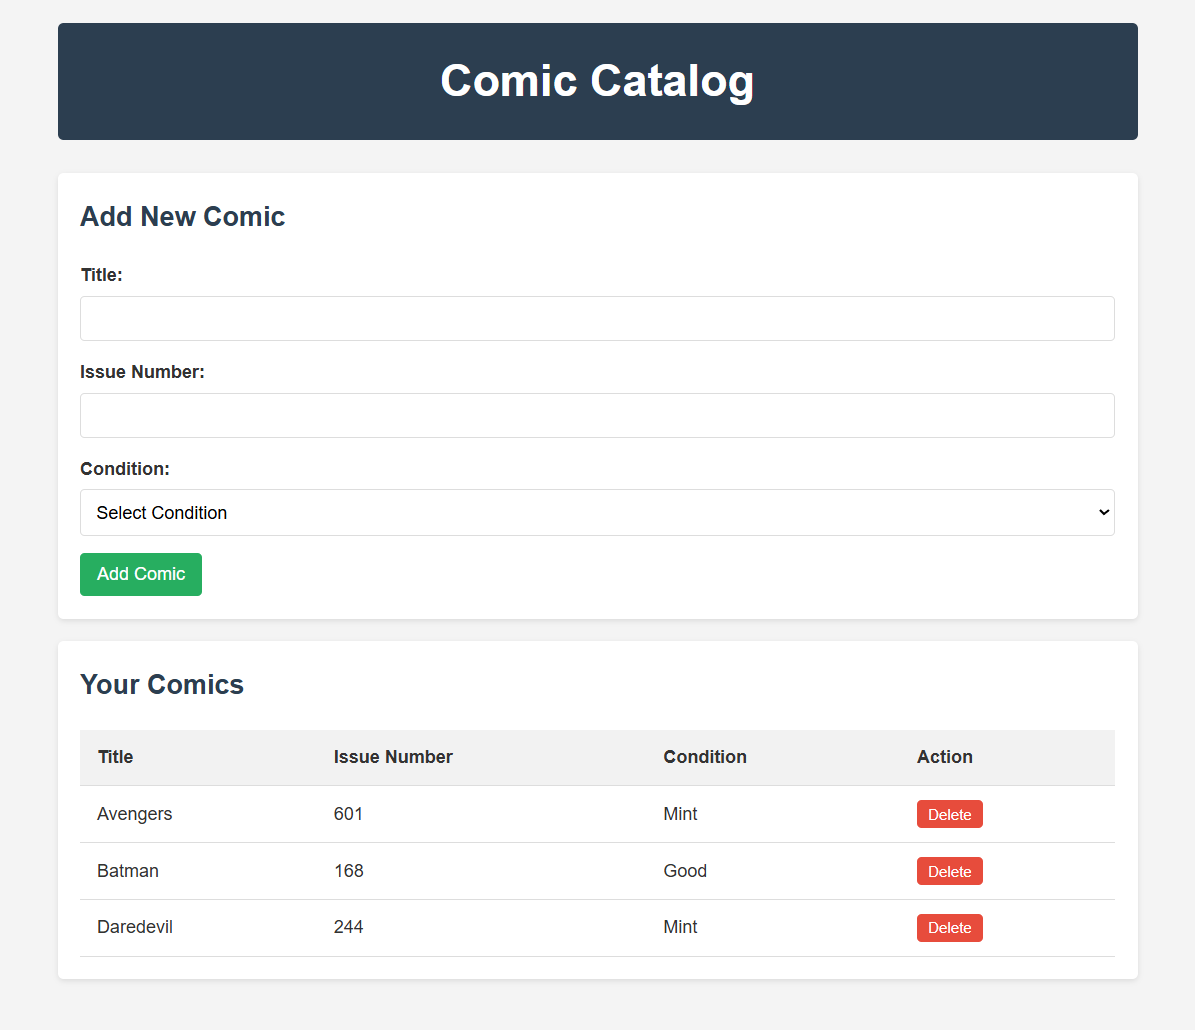
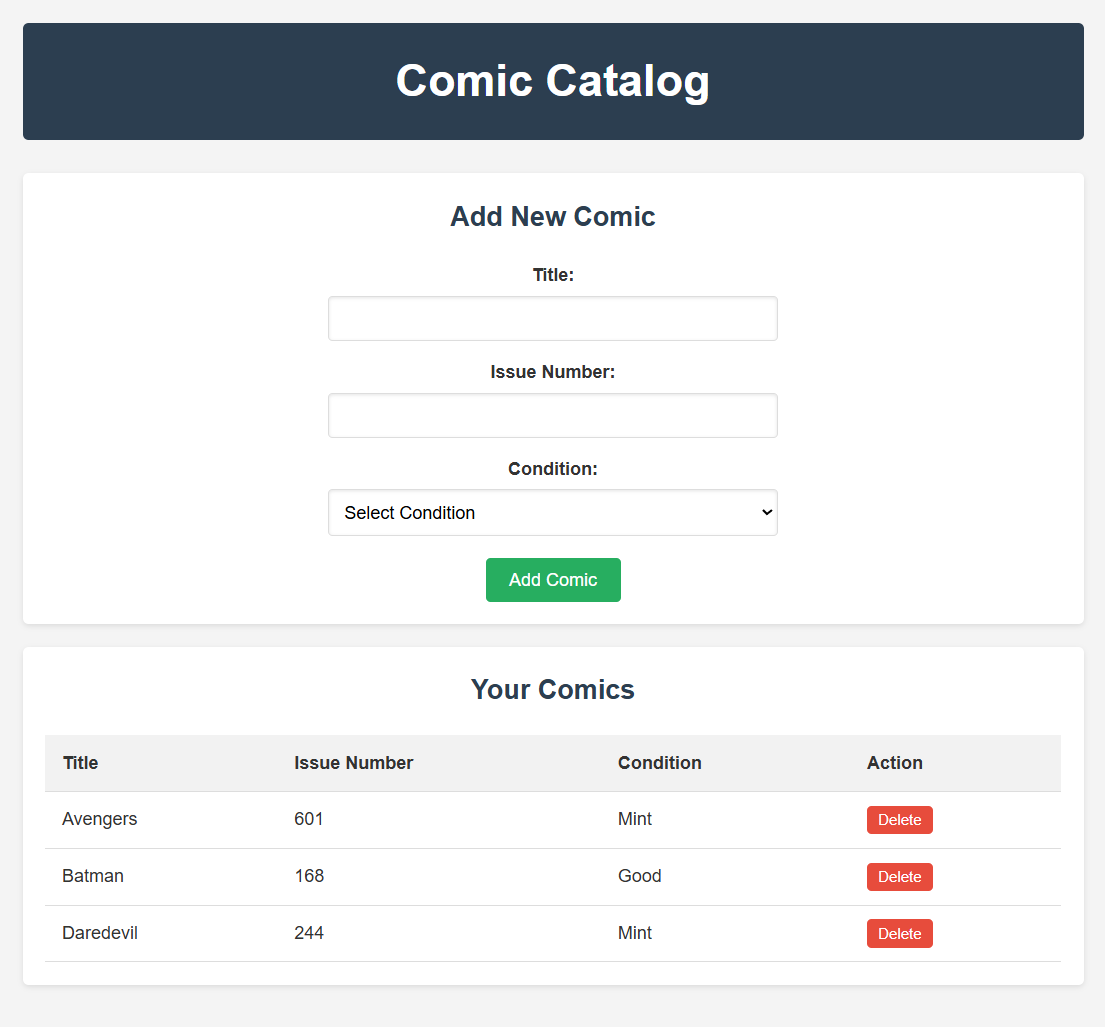
Here is the final working application! The form resets after submission, the UI is clean and responsive, and the data is saved to local storage for persistence.
Update the App
But I don't know where this data is stored and I don't like how long the input fields look. Let's ask Cline to make some updates.
My first prompt was:
What local storage is used? Where can I find it?
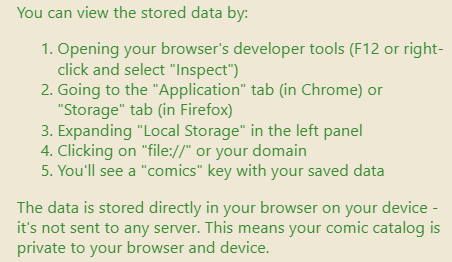
Cline gave me a rather lengthy response, explaining all the places in the code that read/write to local storage, and as I requested, explained that it is browser-based storage, including how to view this data.
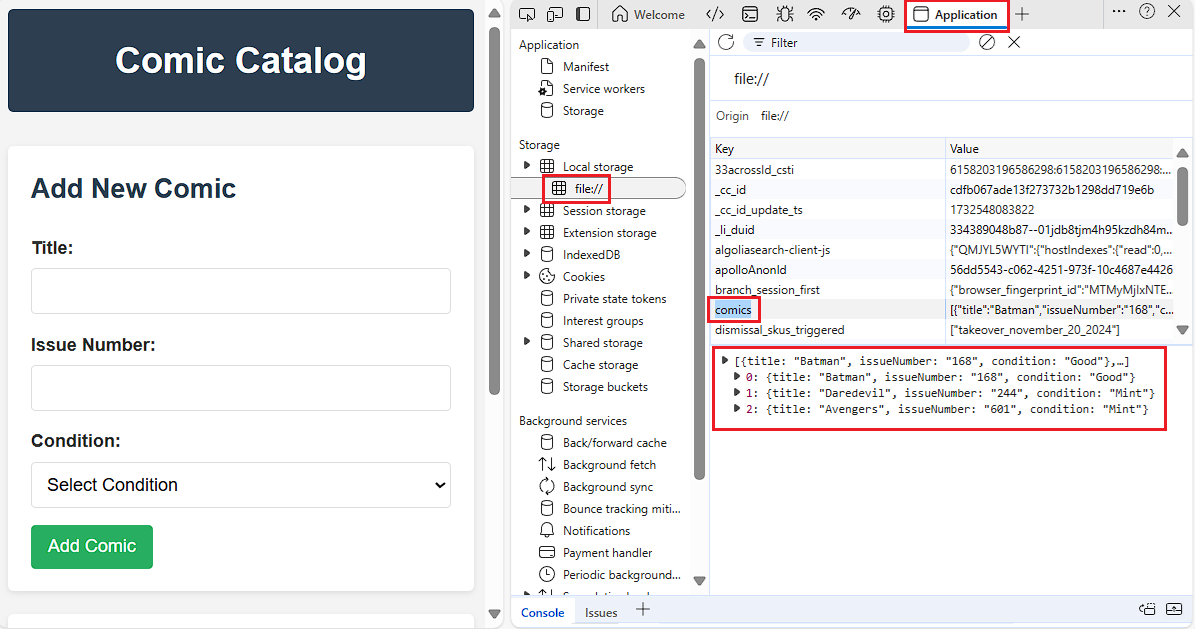
Behold. By opening Developer Tools in the browser I was able to see my persisted data.
My second prompt was:
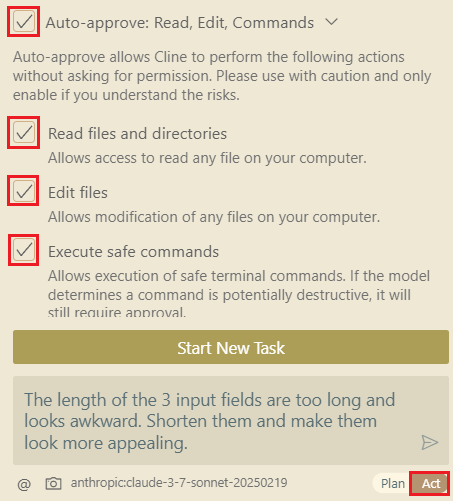
The length of the 3 input fields are too long and looks awkward. Shorten them and make them look more appealing.
Note that I will stay on the Act phase and I'll set auto-approve on as shown in the following screen capture snippet.
The new interface wasn't exactly to my liking, but with repeated prompting, Cline will ultimately get it the way I want. Keep in mind that code generation takes time, Cline will still retest the functionality, and the cost will continue to go up.
Conclusion
My project is done. Three new files were created in my folder structure and I have a working application, albeit a simple one.
The potential for AI-based code generation is huge. The total cost of this entire effort was $1.1292. It doesn't sound like a lot, but it can easily and quickly spiral out of control. Though there are less expensive alternatives out there, it's all about tradeoffs such as maturity, quality, speed, security, and cost.
AI code generation has many names now, and is still an evolving field. A leader today will easily be overtaken by a competitor or new market entrant tomorrow.
As a final thought, here's a good read from Cline titled Why AI Engineers Need Planning More Than Perfect Prompts.